Showing posts with label kids' art and crafts. Show all posts

Wednesday, January 25, 2017

That's Pinteresting!: Tie-Dye Coffee Filter Art

After my mother and I tried out bubble painting the other day, I started working my way through my Art Projects for Kids board on Pinterest, trying out some of the different techniques I have pinned over the past months.
I found a homeschooling mom at The Kitchen Table Classroom who uses markers and water on coffee filters to teach her children about color mixing.  You can't beat the project for simplicity, and the coffee filters that are created make interesting background papers for other projects.
I stopped using paper filters in a coffee maker about a year ago, so the filters have worked their way into my craft stash. I was happy to find a fun, easy, and pretty way to make use of them. I also borrowed the girls' craft drawer full of markers, and pulled out a little mini-mister I have, though you can use any sort of squirt bottle filled with water.

First, you just fold the coffee filter into quarters. My daughter Katy demonstrates this step:
Then you make colorful marks all over one quarter of the filter.  The color goes through the paper to the other side, but I like to flip the filter over and reinforce with more marks on the other side for an even richer effect.  Here are Bayla and Katy adding their marks to their filters:
Here is an example of the filters filled with marker color:
For the next step, just squirt the water from your mister or bottle onto the marks and watch the colors "melt" and blend:
This is a fun step, because you never know exactly how the marker and the water are going to react.

You can set the filters aside onto wax paper to dry; they don't take too long to dry, which is another plus with kids' crafts!
No two filters look alike, so it is fun to admire all the different results!  Because they look so much like tie-dye, I thought it would be fun to use them in the background of a journal page or ATC along with vintage images of women from the 1960s era.  We will see where that project takes me!
This is one of those projects that I firmly believe you can do even if there isn't a kid in sight!  Most of the projects on my Art Projects for Kids Pinterest board are fun- and artful-enough for kids or adults to enjoy!

Tuesday, January 17, 2017

A Bubble-Painting Crafternoon

My mom and I played around with a painting technique this morning that has multi-generational appeal:  bubble painting!  After learning the basic technique, and trouble-shooting the process a bit, I'm ready for my kids to give it a try on a home-bound rainy day.
To create bubble paintings, we mixed 1/4 cup of dishwashing soap with 1/8 cup of water. (We messed around with those amounts randomly through the process, so you can, too!)  We also poured in some of my kids' bubble mix and some vegetable glycerine for good measure.  Then we added a squirt of Liquitex soft body acrylic paint.
We tried liquid watercolor paint first, which I was SURE was going to work beautifully, but it just didn't do as well as the acrylic.  After stirring it all together, we put a straw down into the liquid and blew bubbles.
Very important at this point to BLOW OUT rather than SUCKING IN!  You really don't want to mix up your processes here.
Once we developed lots of bubbles on the surface of our liquid, we held watercolor paper over the container so that the bubbles popped against the paper. Et voila! A bubble painting.
Sometimes we did the process again and again with the same color to get more bubbles on the page, and sometimes we moved on to new colors to get bubbles of different colors on the page.
I never really felt like I "mastered" the process, if there is such a thing.  I got too many frothy bubbles on my paper for my liking.  We couldn't decide if there is a learning curve to making beautiful bubble paintings, or if it's more a matter of luck.  Doing an internet search of bubble painting projects, I found some pretty beautiful examples that put my efforts to shame, if there is such a thing as shame when it comes to bubble painting!  You can check out some other folk's bubble paint projects here and here.
My mom and I decided that this is what you call "process art," meaning that the process of creating it is the focus, and the end result is far secondary.  Meaning we're not sure we LOVE our results, but we sure had fun doing it!

Saturday, January 14, 2017

Make It/365! Two Weeks In

I've been keeping a record of all of my 2017 "making," and I thought I would share some of the entries with you so you can check out my progress.  As promised, I have used the word "make" to refer to actual creative enterprises, as well as more abstract endeavors .  Check it out:

In the first two weeks of the new year, I have:

  • Made an effort to find a friend's lost dog by going door to door in my neighborhood.
  • Made a big pot of spaghetti.


  • Made a blog post. 
  • Made it to church on the first day of the year.
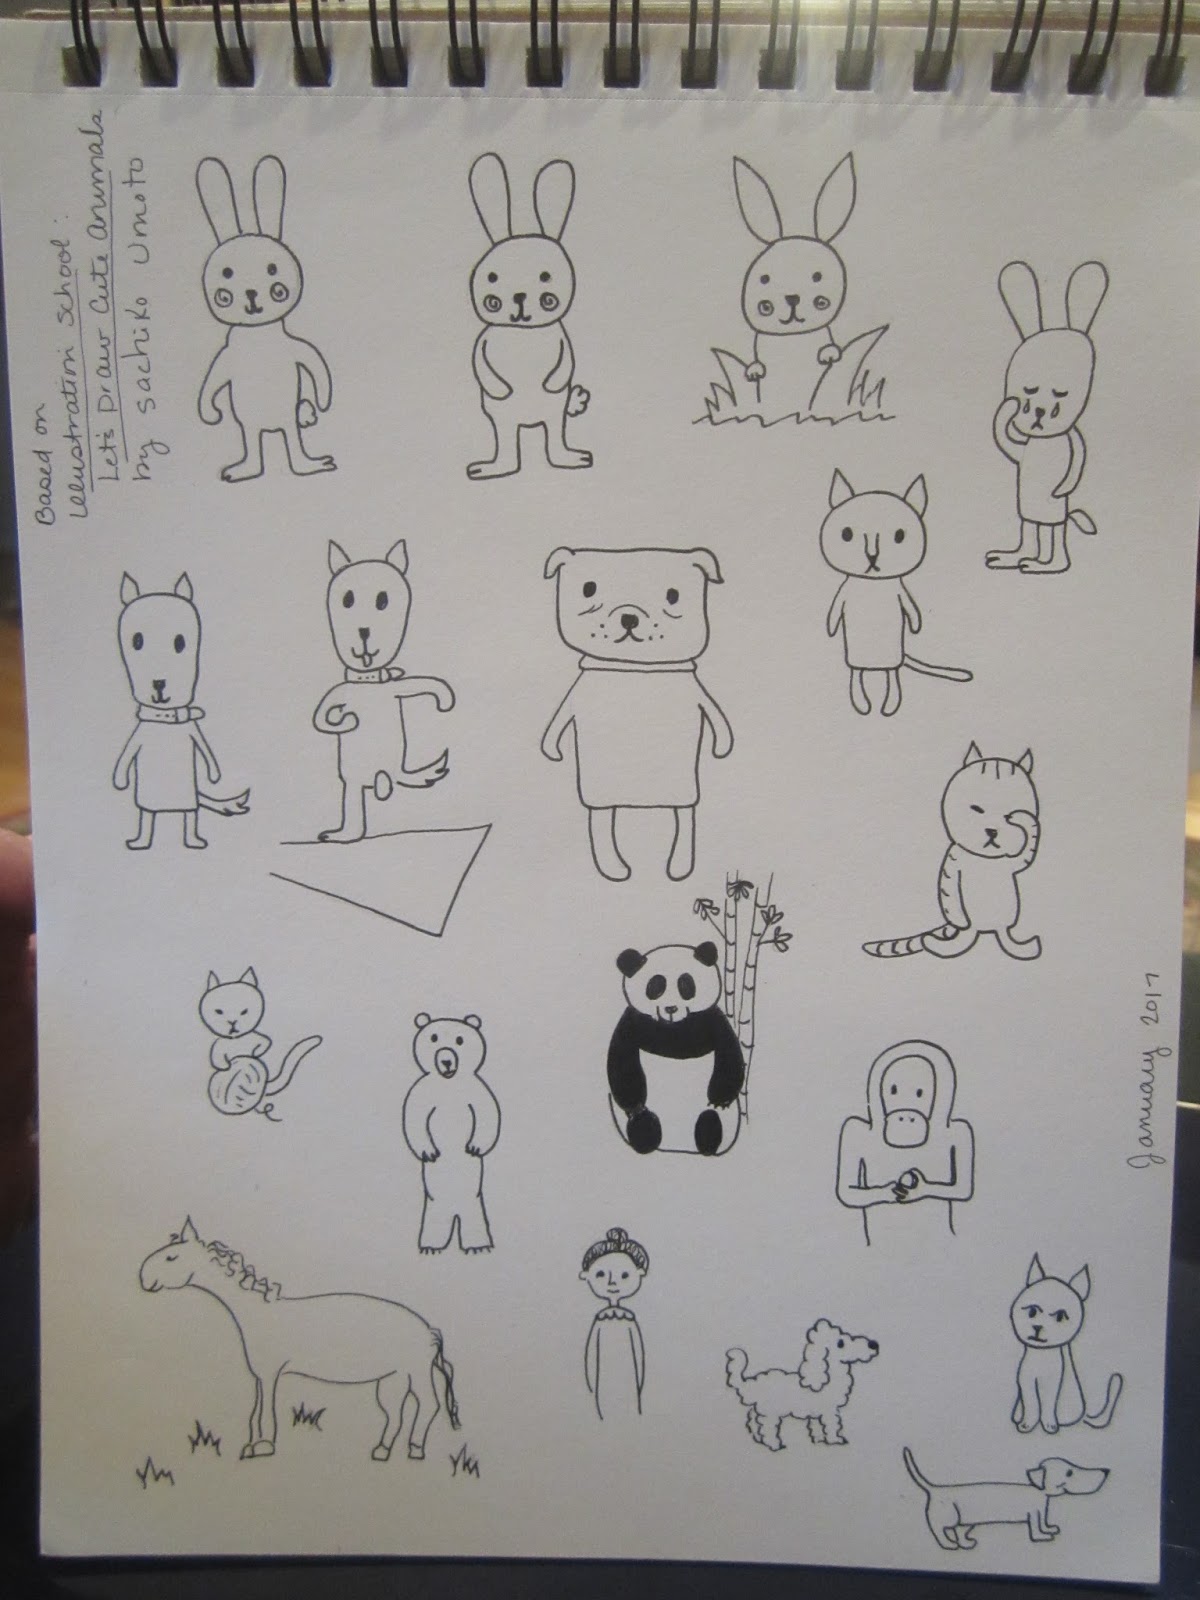
  • Made "cute animal" sketches in my sketchbook.


  • Made school lunches again after the winter break.
  • Made a master list of DIY cleaning products from a binder full of notes and clippings.
  • Made an appointment to start getting allergy shots (and made it to my appointment).
  • Made our house cleaner than it's been in awhile.
  • Made Valentine doodles in my sketchbook.

  • Made it through to the end of a book I was reading.
  • Made an afternoon snack for six little girls having a play date.
  • Made erasers out of eraser clay with my daughter.

  • Made a yummy dinner of spiced mini-burgers and pita bread.
  • Made excuses to myself about why I'm not making things in my craft room.
  • Made a beautiful dinner of roasted chicken and vegetables in a cast iron skillet.
  • Made a smoothie for lunch.
  • Made gingerbread cookies with my kids.


  • Made it through a major mishap--washing an entire box of tissue the girls let fall in their laundry basket.
  • Made my exercise goal on my new watch (on just one day, lol!).
  • Made chocolate chip banana bread.
  • Made a lunch date.
  • Made a Pin the Gumball on the Gumball machine with my daughter for her birthday party.

It's been fun to reflect on my day each evening through the lens of "making"..."what have I made today, anyway?" I hope to do more traditional making--working my way through the supplies in my craft room and the pins on my Pinterest boards--but until I get to it, I like seeing all the other ways "making" makes an appearance in my days.

Keep those ideas coming for my Make It/365 list! I got some great new ideas in the comments for my last post, and I will continue to add and update along the way.

Friday, September 30, 2016

About Face

I really love sharing my creative efforts and learnings with my two daughters, ages 7 and 8.  I always tell them, "It's a good day when you learn something new," and I try to let them know when I am working on learning something new myself.

A teachable spirit is one of the greatest assets a person can possess.

This past Saturday morning, we sat down together at the breakfast table, and I showed them the "proper proportions" for drawing a human face.  Even though I am far from mastering this, the three of us drew together, and learned together, and had a go at face-drawing together.

I thought it would be fun for you to see the difference a little information can make.

Just a couple of weeks ago, my 8-year-old drew a portrait of me for school, citing me as her hero, and labeling her picture "Hall of Fame Mommy."  Now, make no mistake: I love every single thing about this portrait she has drawn! But I am using it as a "before," in the sense that she had not been taught facial proportions.  The drawing next to it is what she drew after learning some of the basics: 
(Never mind the tree growing out of the top of his head.  That was her imaginative addition later in the lesson!)

My seven-year-old was also learning facial proportions, and here you can see her results on the left, alongside her sister's on the right:
I think they did a phenomenal job for their first-ever faces based on new information!

Here is the "cheat sheet" I was using in my sketchbook--some tips I picked up from various sources about drawing realistic faces:
The basic guidelines we worked from include:

  • The head is shaped something like an egg (whereas many children are inclined to start with a circle).  
  • The eyes are placed about halfway down the head.  
  • The face is roughly the width of five eyes across.  
  • Eyebrows are a bit wider than each eye, and tend to grow thicker toward the nose. 
  • The top of the ears are just above the eyes, and go down to the halfway point between the eyes and the bottom of the head. 
  • The hairline is 1/3 to 1/4 of the way from the top of the head to the eyebrows. 
  • The bottom of the nose is around the bottom of the ears, at the halfway point between the eyes and the bottom of the head. 
  • The bottom of the lip is at the halfway point between the earlobes and the bottom of the head, and its width is about to the eyes' irises. 

I'm pretty sure the girls thought I had lost my mind with all these guidelines, but they were troopers, and pulled through with amazing first efforts!

What they really enjoyed, though, were the cartoon faces from the book I had checked out from the library and played around with myself.  They found it a little hard to work through the cartoon faces on their own, but had no problem when I talked them through the steps while drawing my own examples.
My 7-year-old's cartoons
My 8-year-old's cartoons
It's a good day when we learn something new.  

I love challenging myself to try new things, and I also love watching my girls doing the same.  What will you try to learn today?

Wednesday, September 21, 2016

Making Faces

I have discovered that anytime I want to learn something--about history, science, art, or anything else--one of the best places to start is the kids' section of the library.

Sometimes when I go right away to the resources intended for grown-ups, I can get overwhelmed with information or frustrated with the complexity of the subject.

Just the other day, while browsing through the art section for kids, I came across the book Drawing and Learning About Faces, by Amy Bailey Muehlenhardt.  It took me back to when I was a kid, wanting to learn how to draw cartoon faces, but so desperate to be perfect that I just ended up tracing the pictures at the end.
 Well, this time (thirty-plus years later, ahem), I decided to try my hand at honestly following through with all of the directions to create the eight faces in the book.

(That's another reason to love kids' books:  Eight faces...that's it! I can definitely handle eight faces, and then feel the achievement of making it through the whole book.  Mind games...they work every time!)
The author provides step-by-step instructions for drawing the ovals and adding each of the features to create a face that expresses a particular emotion.

There is happy:
Embarrassed:
Angry:
Surprised:
Excited:
Sad:
Bratty:
And scared:
I kind of love these fun little cartoon pages in my sketchbook, and I'm looking forward to my girls giving some of the faces a try for themselves.  I think they'll be amazed to discover that eyes are actually situated about halfway down the head! And excited to see how that one simple change brings a better result to their drawings.

Now, I think I'll head back to the kids' section to see what other drawing books they have!

Saturday, August 27, 2016

Save the Dragons! Kids' Club Creativity

My girls have been "all about dragons" for weeks now.  My older daughter has scoured the library for every book with the word "dragon" in its title all summer.  This led to a two-week intensive planning session between my two girls for a "Save the Dragons!" club that they ultimately held with five additional friends this past Friday.
Some of the Save the Dragon! Club girls acting out fearsome dragons
These girls do nothing halfway.  My seven-year-old created a book that introduces the club, outlines famous dragon killers from history (thanks to Wikipedia), lists the rules for the club, and has drawings of all the various kinds of dragons in the world.  An excerpt:
In the old world, dragons roamed the earth freely. Then man was created and started killing the dragons. And then new people came to earth and tried to save them. Can we do it? If we try, maybe just maybe we can save the dragons.
Rules for the club include:
Protect the dragons. Never ever say or write that dragons are not real. No potty talk. No lying. If you leave dragon club not believing in dragons one little bit, you can't come back to the next dragon club. Take care of each other. Take care of stuffed animals. Raise your hand. Dragons matter!
Seven-year-old club leader reading the rules
My eight-year-old created a second book entitled "Dragon Watch: A Research Book." (The fact that it has a subtitle was very important to her!)  Her book includes a dragon's possible daily schedule, an extensive chart of dragon types, general facts about dragons gleaned from a computer game they like to play online, and sections with pictures and information about different dragon types, including Drakes, Serpents, Wyverns, and Nagas. There are even diagrams of their body parts, and a quiz to make sure you've been reading with attention!

The girls didn't have as much time to share their books and research as they had hoped, so much of this will be saved for the second Save the Dragons! club meeting.

During the first club meeting they were busy with:

Crafting paper houses for nano-dragons (very small dragons):
Eating the "dragon's head" snacks that the girls designed and created, which all of the club members enjoyed:
Going outside for dragon-themed outdoor games using pool noodles and lots of running around. (You will notice that two additional club members have joined at this time):
My seven-year-old was the official club leader, with my eight-year-old serving as "co-leader," and there were moments when the pressures of leadership threatened to get the best of the younger one.  It can be tough when expectations do not meet up exactly with reality, and though I had tried to encourage her to go with the flow and remain flexible with how things evolved, there was some stress when games were not played exactly as she had hoped.

I also think that our second Save the Dragons! club will be limited to 1-1/2 or 2 hours to reduce stress brought on by over-excitement and activity.

But I am mightily proud of the creativity and planning my girls put into this fun activity for their friends, and I saw lots of smiles and genuine interest from club members who had no idea what they were getting themselves into!

I don't think I ever organized such a well-planned and elaborate club for my friends when I was a kid.  How about you?  Did you participate in any fun, informal clubs when you were young?