Showing posts with label card making. Show all posts

Friday, May 16, 2014

Good Crafternoon!

I first heard the term crafternoon on Julie Balzer's blog years ago, and thought, I need to have one of those myself!  As fun as it is to hole up in the art room and dabble away into the wee hours of the night, I also love the chance to get together with others who appreciate paper and punches and scissors and scraps and glue sticks and...well, you get the picture...as much as I do.

Just recently, Becky (aka, Snail Mailer) visited my art-making space for a crafternoon together.  (We met last year at the Allentown Paper Show.)  She came bearing gifts for me and for my girls, and while my husband kept my daughters mostly out of our hair, we had some paper crafting fun.
Good crafternoon, Snail Mailer!
Becky showed me how to make the amazing never-ending card that she recently featured on her blog, Leaving a Paper Trail.  It only requires four pieces of paper and some adhesive, and when you open it, there are two flaps that open again, and under there are two flaps that open again, and under there are two flaps that open again...and it goes on and on for as long as you are interested in opening flaps.  It's pretty mesmerizing, kind of like those Jacob's Ladder toys.  (Check out Becky's blog for the video on how to put it together.)

Becky also had an idea in her head for a kind of interactive maypole card, and worked out the details at my craft table.  It ended up being a pretty cute design!
Becky's maypole card
She makes a lot of cards for clients as part of her job, and showed me a nice way to make this tri-fold card.  I feel like it stands up in a kind of shrine-effect that I really like:
Here's the card when it's closed.
Here's the card when it's standing up, opened.
Here's the card with a few additional embellishments.
She brought a selection of her paper punches, and I punched out lots of shapes in different patterned paper to work with on future projects.  She used some of my collage scraps to work on a page in her new Smash book.  My daughter took our photo so we could share our day together on the blog:
We enjoyed a fun couple of hours working together, chatting, and enjoying lunch before she had to head home.  She was very productive in our time together; me, not so much!  But a happy side effect of welcoming someone into my craft room is the tidying up I do before she arrives.
Like-items together...stacked, labeled, and ready for action!
Hmmm....it's almost too neat in here...time to get started on a new project to mess things up a bit!

Friday, November 8, 2013

Patchwork Paper Postcards

I am not usually a fan of "cutesie"-style illustrations, but I picked up a little book from a recent book sale entitled Who Finds a Friend Has Found a Treasure (and other proverbs) published by Laurel Library.  I savaged the book for collage fodder before taking note of the author or illustrator. 
In this case, I was drawn to the "cute" little children offering each other tokens of friendship, with platitudes to match.  I created stitched patchwork background, and added the illustrations to create these patchwork paper postcards.
I enjoyed going into my paper stash to find colors and patterns that matched the spirit of the illustration and looked fun together.
And, of course, I always love an opportunity to "go to town" with my sewing machine!
Looks like I have some postcards to address and get out into the mail!

Friday, March 22, 2013

Playtime!

I took advantage of the girls being in preschool all morning on Wednesday to spend time with "my rubber stamp friend, Sue."  That's how I often refer to her because we have attended many rubber stamp shows/expos together over the years.
Here is Sue with just some of her rubber stamp collection, stored under a bed in her work space.
I should probably more accurately call her "my card making friend, Sue," as she has raised card making to a high art form, constantly learning new tools and techniques and sharing her knowledge and expertise teaching card-making classes.

I thought I would share a technique we tried together, and then let you see photos of her studio space.  After all, who doesn't love photos of an artist's studio space?!
I don't know exactly what you would call this first technique that we tried, but here is what we did:  We covered a piece of cardstock with glue, and then wrapped a piece of heavy-duty aluminum foil over the cardstock.  Then we ran it through Sue's Big Shot with an embossing folder to create an impression on the foil.  Next, we rubbed black shoe polish over the embossing, allowing it to pick up and highlight parts of the design.
Next we ran it through the machine again with a die that cut our foil into pretty shapes that we could use for card-making.
Here (above) is Sue's finished piece, and mine is below.
I'm not sure how I'll be using mine, but I can't wait to see how Sue incorporates hers into an artistic card!

Now for a peek at Sue's enviably large and well-stocked work space:
A huge portion of her finished basement holds her card-making supplies.  There is a larger table where we did our playing (above) and where Sue can use her die cutting machine, as well as a smaller desk area (below), with lots of drawers for many of her supplies.
 She has stacks and stacks of colored paper for her cards:
And she has loads of rubber stamp images to incorporate into her designs:
Don't forget she has all those stamps hidden away under her bed and in her drawers, too!
 
She has boxes filled with die cutting and embossing folders for her Big Shot:
I spent an hour and a half at her house Wednesday morning, and it felt more like fifteen minutes!  We are definitely going to schedule a follow-up to continue exploring some new tools and techniques.  She always has her eye on something new to try, and I'm always game to participate!
Work or play?  You be the judge!

How will you spend some time in creative play this weekend?

Thursday, January 24, 2013

Christmas in January: Recycling Christmas Cards

This past Christmas, I was thinking about how there are so many projects that I want to try every year around the holidays, but I never seem to have time to get to them all.  By the time I have a moment to sit down and think about Christmas crafting, it's almost too late in December to bother!

So, I had this idea to try out different Christmas crafting ideas throughout the year, so that when December 2013 rolls around, I won't find myself in the same position:  looking at dozens of projects that I would like to do, but simply don't have the time for.  To that end, I am planning a "Christmas in [Insert Month Here]" series.  Each month, even in the high heat of the summertime, I am hoping to do a Christmas project that I have bookmarked and wanted to try.

For Christmas in January, I played around with a bunch of different ways to recycle the Christmas cards we received.  I had so much fun with this, and am really excited about the results.

Top 10 Ways to Use Your Old Christmas Cards

1.  Gift tags. 
This is, perhaps, the "no brainer" idea; I've been doing this for years.  All you have to do is cut out a cute part of any card.  Cutting it into the shape of a tag and punching a hole in it for ribbon are purely optional.  You write your To and From on the front if there is room, or on the back if there is not.  Simple, simple.
I mounted the card parts onto solid colored paper to cover up any messages that might have appeared on the back.  Also, all three of those small pictures--the wreath, the dog, and the candy canes--appeared on the very back of the cards, near the name of the company that printed them.  Don't forget to look at all parts of the card for potentially useful images and sentiments!

2.  Bookmarks.
This is the first time I have tried this, and I am so happy with the results.  Bookmarks can come in any number of sizes, so cut any long, narrow portion of a card that looks nice.  Punch a hole in the top for a ribbon or some other kind of fiber.  (I've had these braided cords sitting in a drawer, unused, for years.)
The beautiful Santa card came from April Cole, and had a Santa image raised up on foam from another Santa image, so I got two-for-one! 
3.  Postcards
One of my mail art friends sent me a postcard made from the front cover of a Christmas card, and it was a total, "Why didn't I think of that?!" moment.
From the front, they look just like regular Christmas cards, but turn them over and you discover that they are actually...
How fun and easy is that?!

4.  New Cards
Sometimes it's fun to re-envision a card and make it into something new.  I took this beautiful photograph of a vintage Santa ornament from the front of a Christmas card, and cut it into several small squares, which I arranged on the back of another (hot pink) Christmas card we received.  By mounting it on a kraft paper card, I created a whole new card!  (The original photo, by the way, was taken by Lisa Leitch of Montana Trails Photo, which she co-owns with Randy Updegrove, my husband's cousin.)

5.  Garlands
Everyone is rather garland-crazy these days, and I've been wanting to see how it works to sew paper shapes together, leaving spaces in between.  (I couldn't really get my head around that until I tried it!)
I used a circle punch and two different Christmas cards, then sewed the circles together with red thread on my machine.
I decided to show it off at an angle that gives you a peek into my art room!  You could focus on the red parts of cards and punch hearts for a Valentine's Day garland, or focus on the green parts of cards and punch shamrocks for a St. Patrick's Day garland.  In addition to displaying these around mirrors or doorways, they make fun a fun gift-wrapping embellishment.

6.  Christmas Ornament
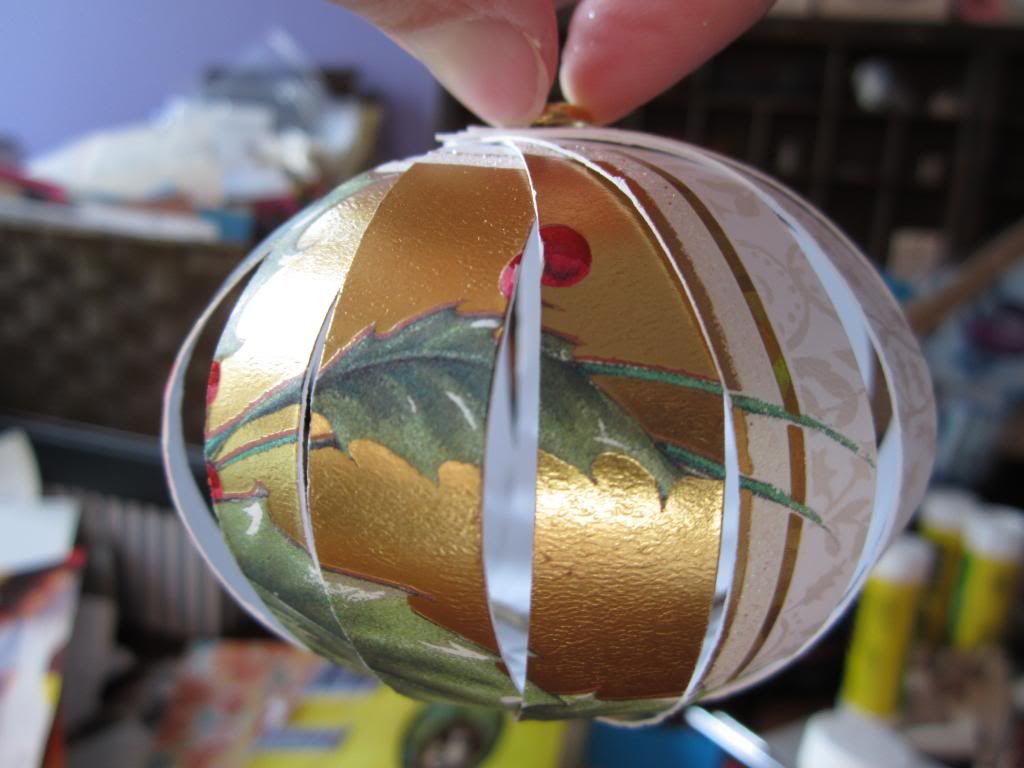
There are all kinds of papercraft ornaments that you can make from your old Christmas cards; the Internet abounds with them, and you can also look in various books that talk about projects you can do with old book pages.  Here is a very simple ornament design:  a Christmas ball.
To make this, all you have to do is cut your card into strips (you can cut stips from several different cards or all from one card).  Punch holes into the top and bottom of each strip.
Stack the strips on top of each other, and put brass fasteners through the holes on each end.
Then you have to fan out the strips to make the ball, as shown in the first picture.  It's a little tricky to get them spaced out nicely so that they look like a sphere that is symmetrically round and doesn't kind of lean to one side.  Let's just say, I don't see myself making a bunch of these, but it was fun to try once, and I can see doing it with my kids in a few years.
 
7.  Confetti
Here's another fun and simple use for your old cards:  confetti! 
You can make any shape confetti that you want...circles, stars, hearts, you name it.  I used a tiny little star punch and focused on gold and purple areas of two different cards.  Some people like to tuck confetti into birthday card or invitation envelopes.  I think it makes a fun "instant party" when you put it in a tiny envelope and include it with an art swap.
Or, you can let your five-year-old get her fingers all sticky, trying to glue it down to a big piece of paper at her art table!

8.  Matchboxes
Okay, there is a steep learning curve for this project, and I don't quite have it mastered yet.  For someone who loves to work with paper as much as I do, it's amazing what a clutz I am when it comes to folding it into any recognizable form.  (Origami Master, I am NOT!) 
I used a template by Rachel Johnson, which you can find on the Swapbot blog.  Take my advice:  don't try making the matchbox for the very first time using your "very favorite, absolutely perfect for this project" Christmas card!  I messed up my first attempt, folding in the wrong places, and got two unsightly folds on the adorable photo of the child catching snowflakes on her tongue (many thanks to Mary for that sweet card!)  I totally flubbed up the little box that slides inside, too, and wouldn't you know that I used up my most wonderfully simple, Christmas-y snowflake card in the process.  I made a slight error in attempt #2, the teddy bear matchbox, but you can't see it unless you turn it over.  I am definitely going to master this paper-folding challenge!  Just not today...

9.  Journal/Notebook
Perhaps my all-time favorite project:  turning an old Christmas card into a stitched notebook. 
This beautiful angel card came from one of my mail art partners.  All I did was fold paper in half (I used a notebook that has graph paper on one side and lined paper on the other), cut it to size, and stitched up the middle on my sewing machine.
I put a piece of decorative tape up the spine on the outside to cover up the other side of my stitching.  There are lots of different ways to handle the closure, too (including, I guess, not having one!).  I wrapped a ribbon around the book, and used a piece of decorative tape to hold it in place in the back even when I have it untied.
All of this from a simple Christmas card!  Wouldn't it be fun to designate this little notebook for all of my Christmas planning lists when November and December roll around?

10.  Placemat
And here is one final idea.  I haven't actually done it myself yet, but I'm including it because I have all the supplies out and ready to go, and I want a nice round 10 ideas to share with you!

I am going to take the family photo cards I received, and glue them down to a large, sturdy piece of paper.  Then I am going to put laminating paper on the front and back of it (you could use clear contact paper, as well).  This will create a placemat that we can use, enjoying the photos of our friends and family as we eat throughout the year!  So many people send photo cards now instead of more traditional Christmas cards, that I could probably get four placemats' worth of pictures.  At least I'll make two with photos on the front and back for my children to enjoy.

So, it looks like I spent a ton of time re-purposing all my old Christmas cards, doesn't it?  In reality, I made all of these things (#1-9) in a few hours over the course of two days.  They are so simple, straight-forward, and fun, and I feel like I got a little more life out of my cards.  It's so much nicer than tossing them in the recycling bin!
 
************************
That's my taste of Christmas in January!  We'll see what Christmas project February will bring!


Wednesday, January 16, 2013

Love Is In the Air: Part 2

For some reason, I've really caught the Valentine's Day card-making "bug" this year!

I've never been drawn to the heart motif necessarily, and yet right now I just can't seem to get enough of it.  When I sat down to create Valentine's Day cards, four different series developed.
These labels appear on the back of the cellophane bags that hold each greeting card.
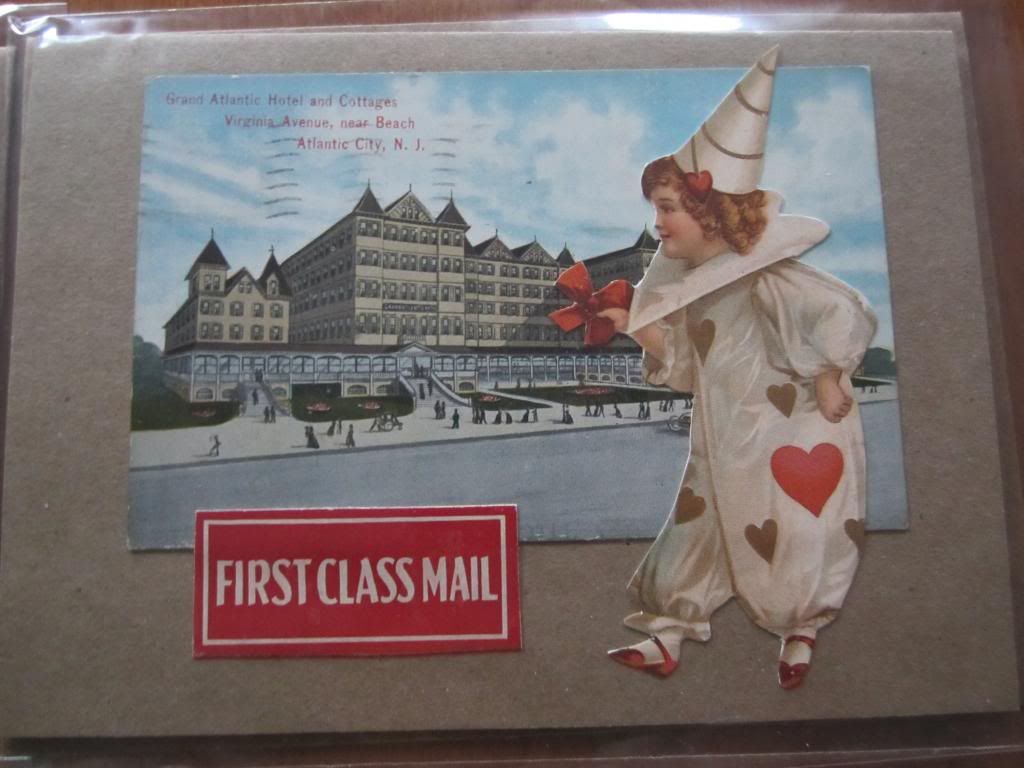
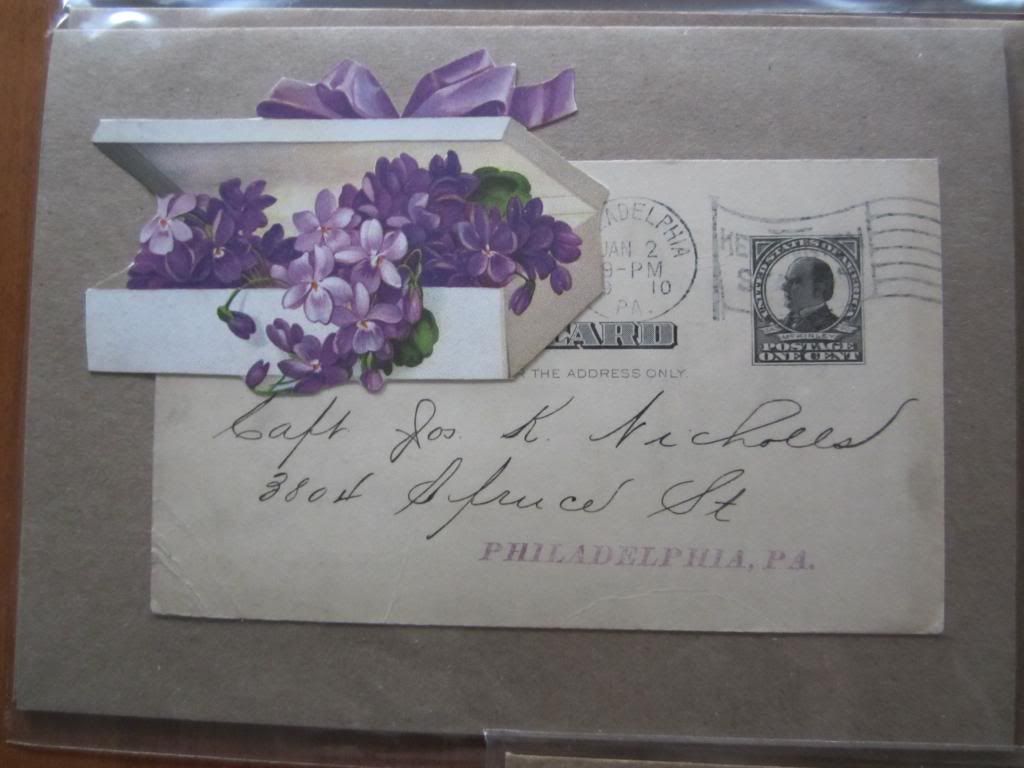
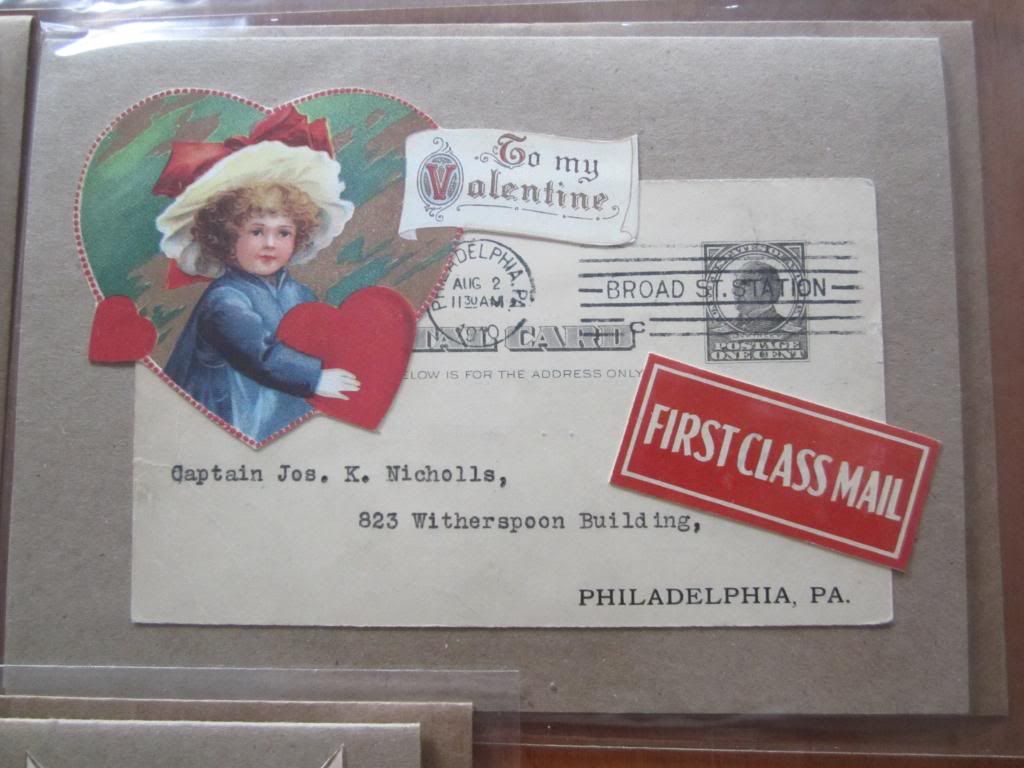
The first set I worked on I called my "Valentine Poste" series.  They were inspired by a design from Colette Copeland in the Volume 4 2010 edition of Somerset Holidays & Celebrations magazine.  I used reproduction Victorian scrap and mailing labels, while the postcards are all from between 1910 and 1913 (except, perhaps obviously, for the "Seattle" postcard in the last photo!).
If I had to choose, this card is my very favorite.
I love the look of brown kraft paper for these cards!
How neat that the purple color on the Victorian-style scrap matched the original "Philadelphia, PA" stamp perfectly!
I owe Karenann many thanks for coming through for me when I couldn't find my mailing labels
in time to make these cards when I needed to!
I added foam dots on the back of the couple at the forefront of this card to add some fun dimension to it.
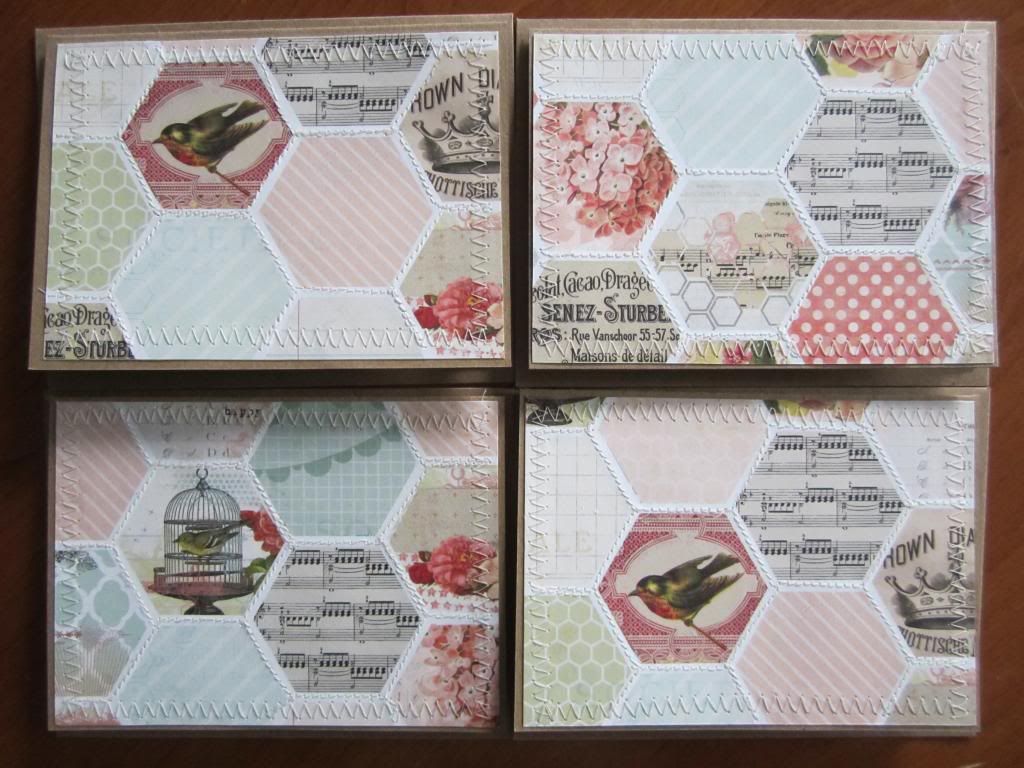
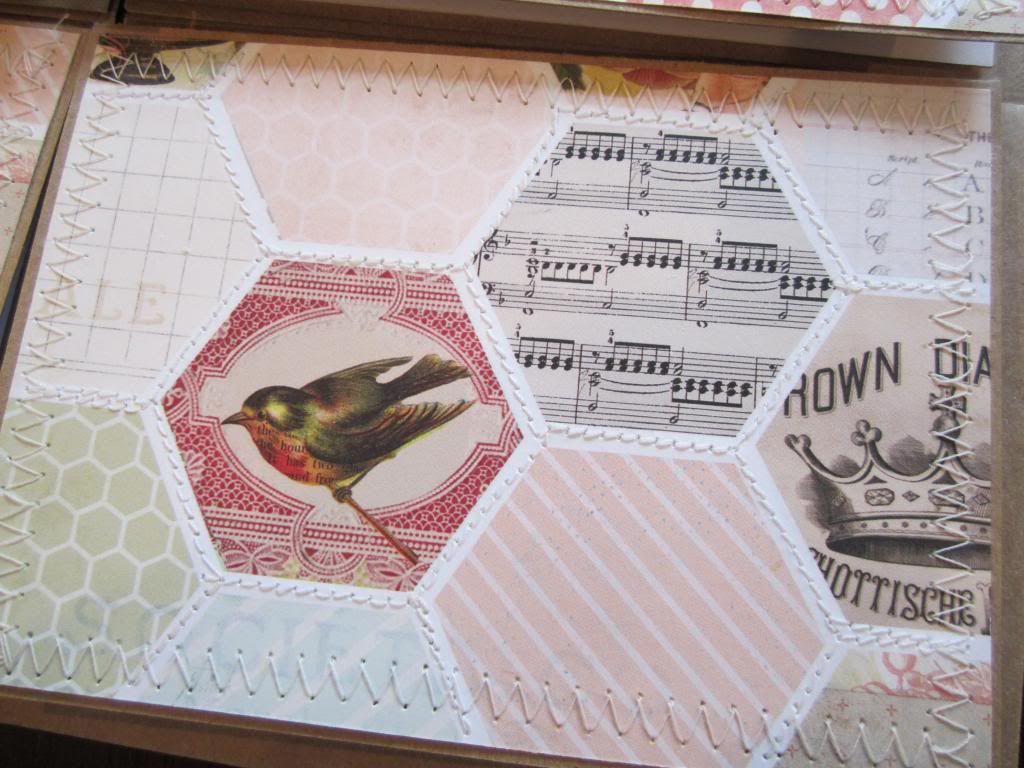
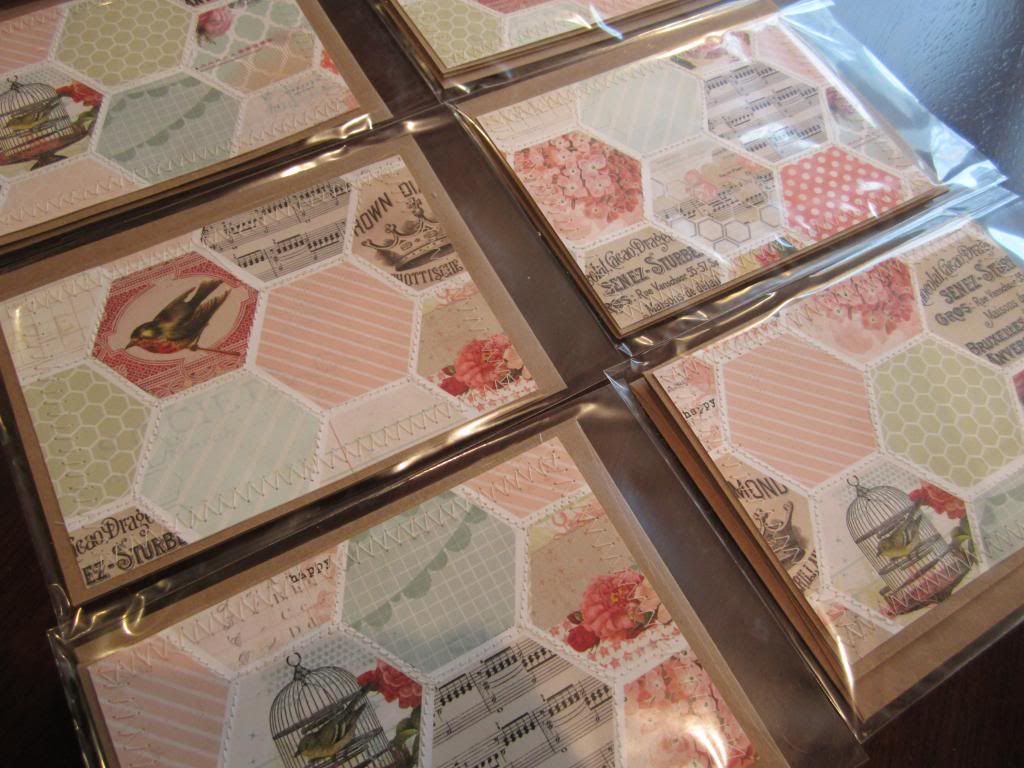
For my second series of cards, "Homeycomb Poste," I used a beautiful piece of scrapbook paper with collaged hexagons, which look just like a quilt.  I just added the stitching to complete the look.
 
There are a total of six of these cards.
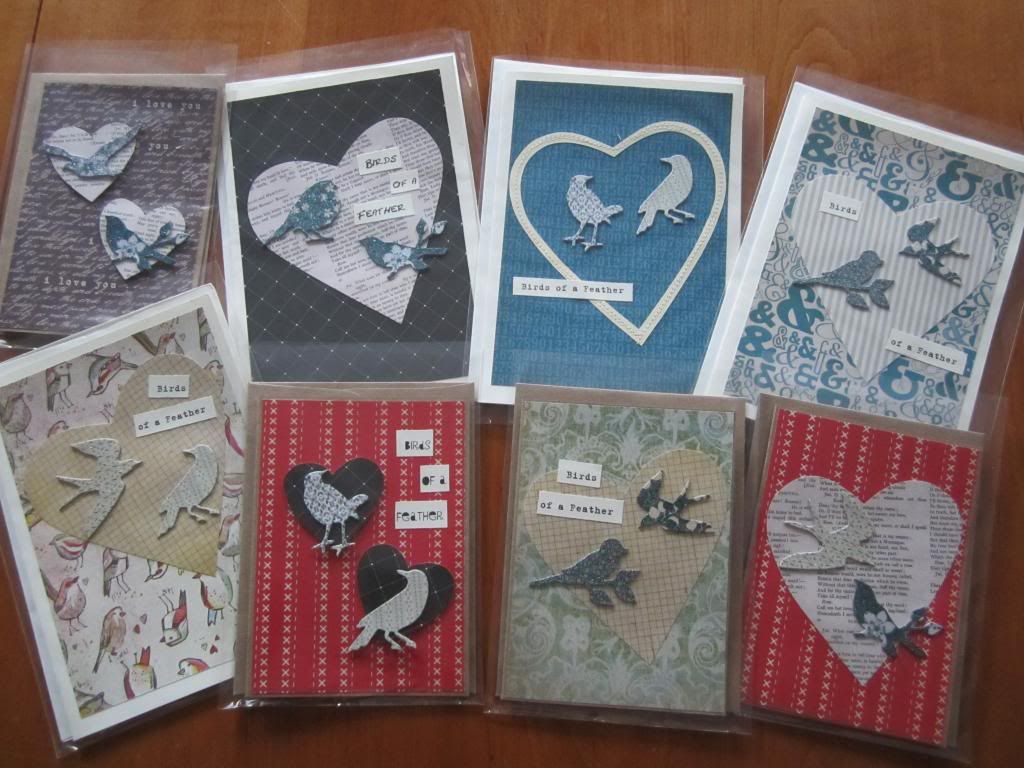
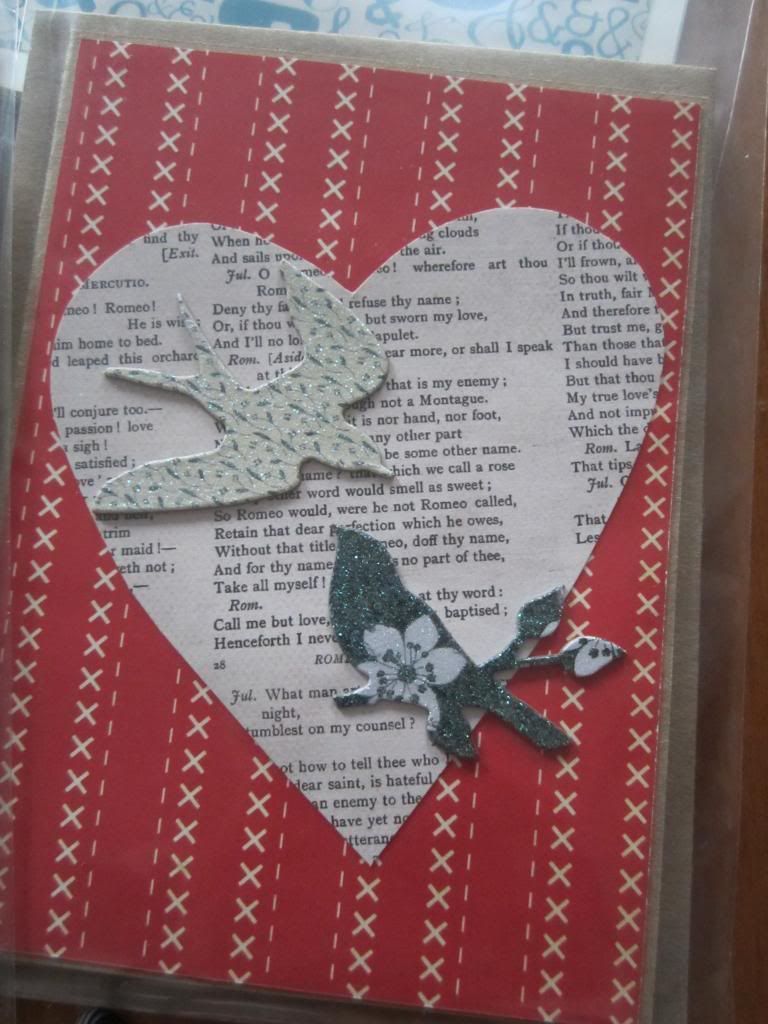
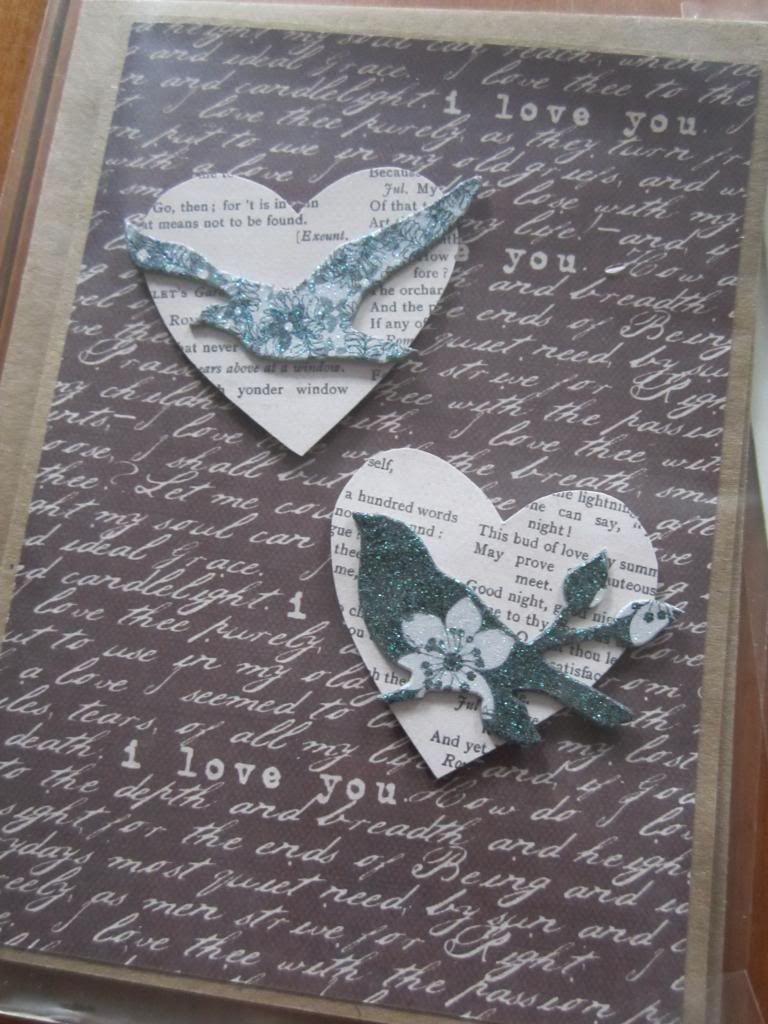
The third Valentine's Day series I made is called "Birds of a Feather," which I think is a fun sentiment for the holiday.  And, as you can see with almost all of my cards this season, I had to "put a bird on it"!
These are all quite different from one another, and some have a "Happy Valentine's Day" sentiment inside, while others are blank cards.
It's hard for me to resist adding some stitching to my projects!
Some of the cards do not acutally SAY "Birds of a Feather" on them, but the sentiment is still there!
I used the foam dots on the back of the hearts to add some dimension to the card.


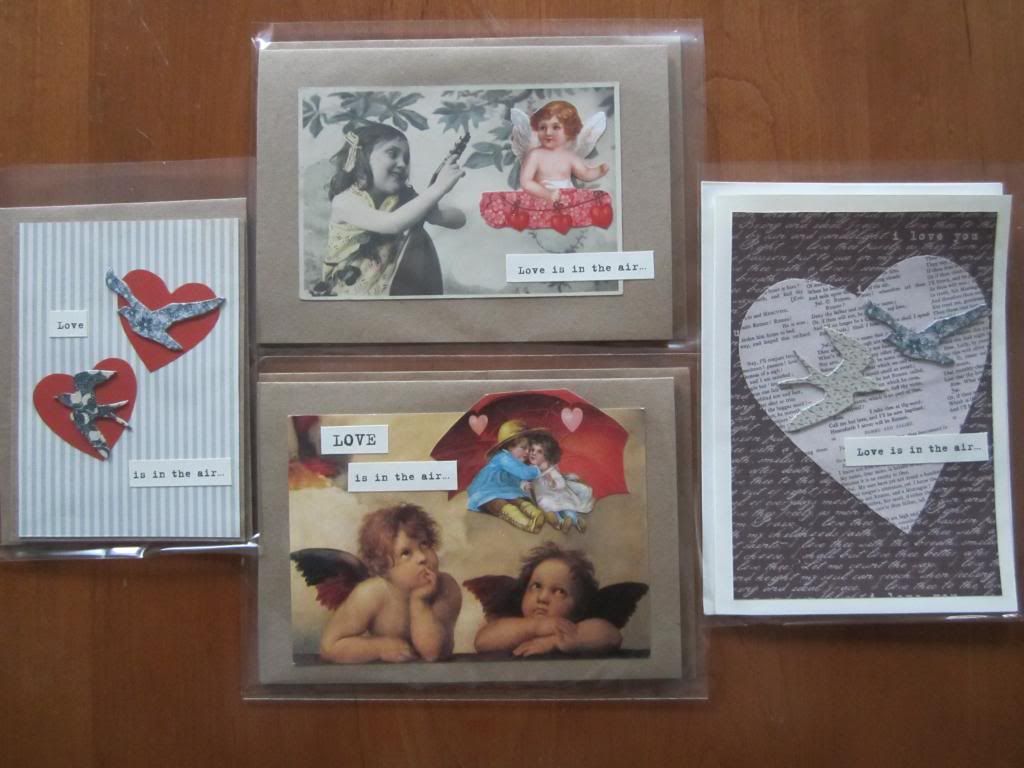
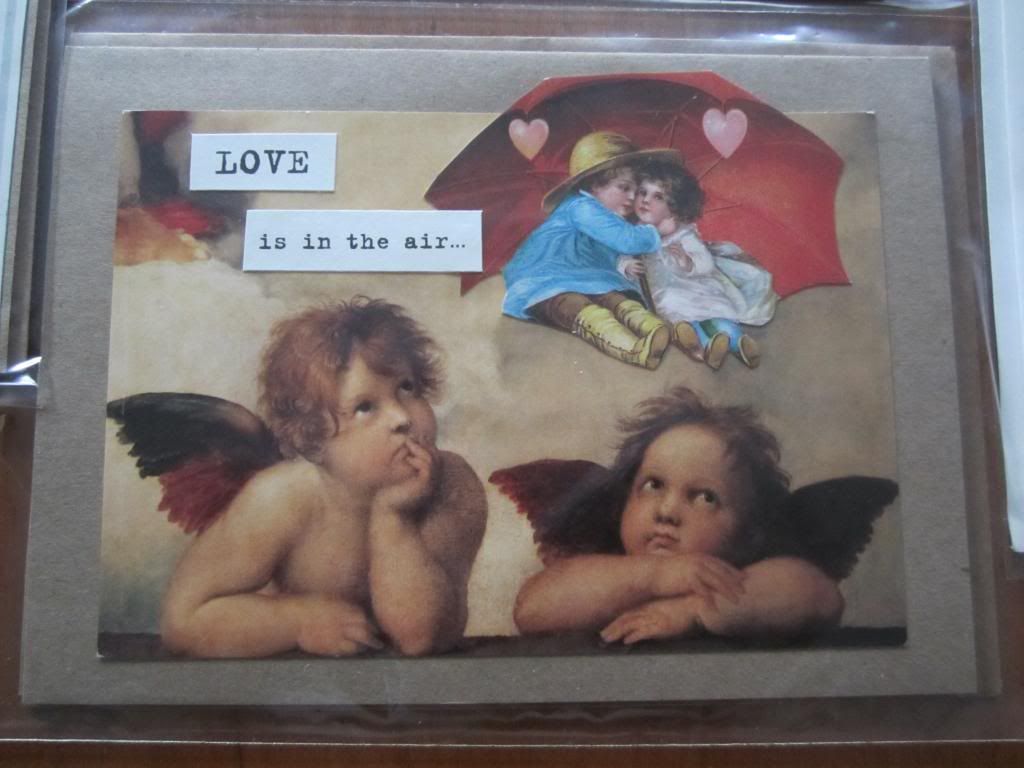
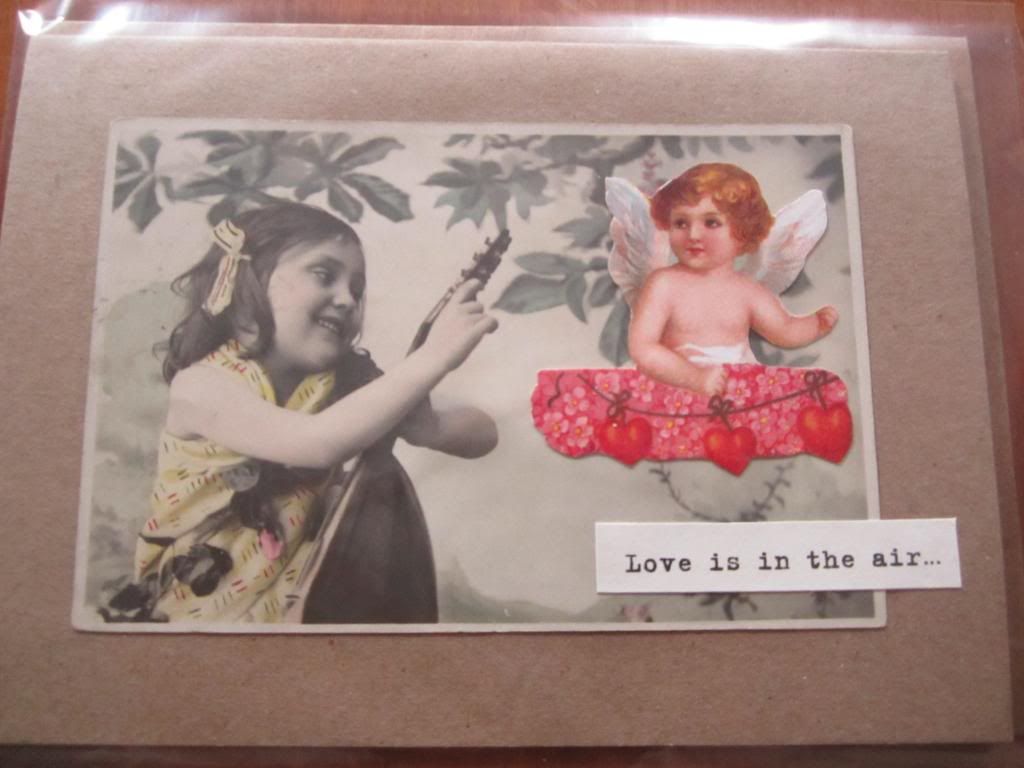
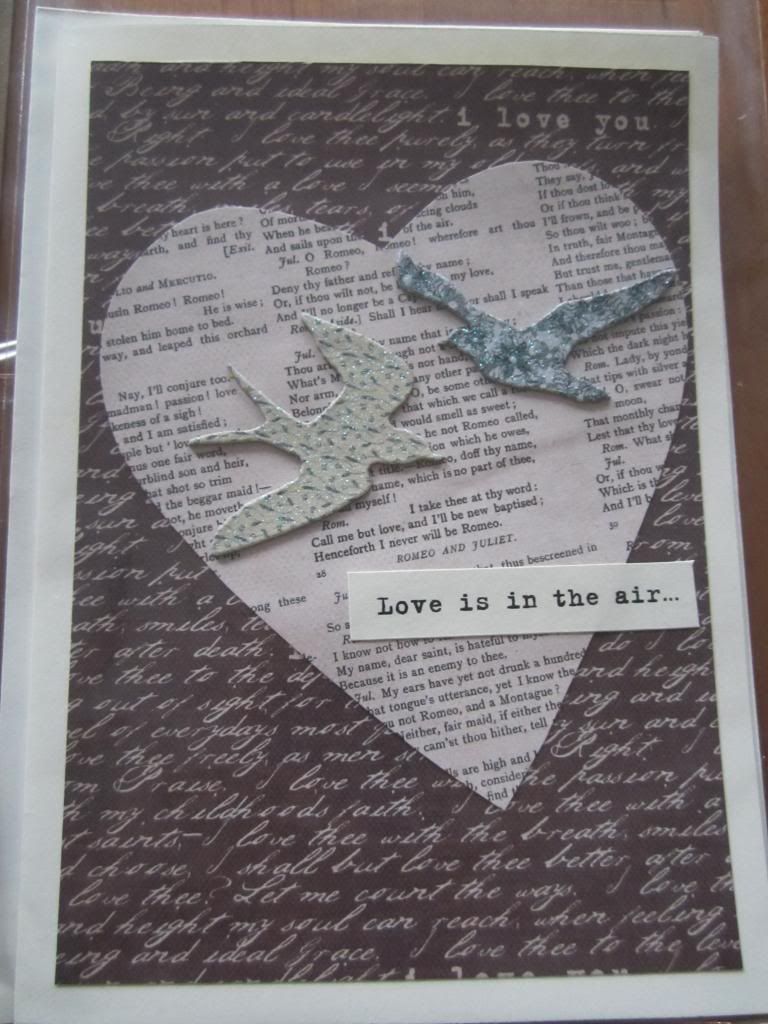
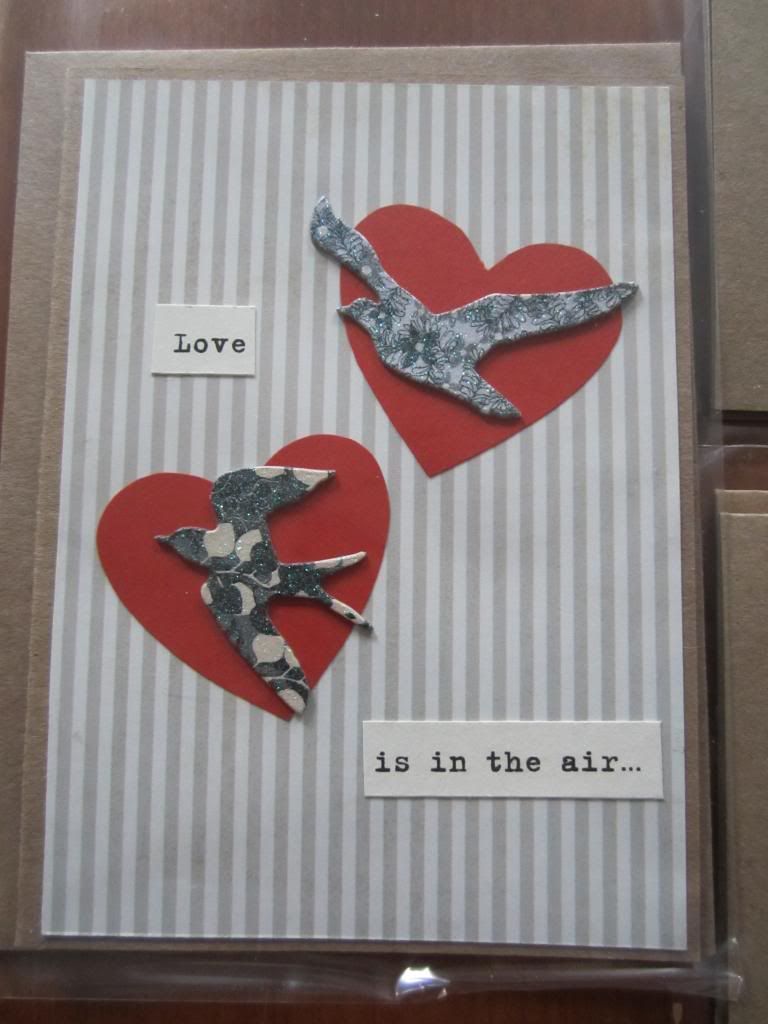
The fourth and final Valentine's series that I created is called the "Love is in the Air" series.  These cards are also all quite different from one another.
I used a postcard of Raphael's famous angel duo that I purchased in Italy for this card.
This is a vintage postcard from the auction I frequent, with reproduction Victorian scrap added.
Still putting a bird on it!
Amazingly enough, after all these cards, I'm still playing around with hearts.  I will share with you three fun ways to create heart embellishments for your Valentine's Day cards and other artwork in my next post!