Showing posts with label drawing. Show all posts

Monday, February 6, 2017

"The Best Things in Life Are Free"

I pay good money for art instruction and inspiration--purchasing books and magazines, enrolling in classes and workshops, and even my once-in-a-lifetime (thus far!) retreat experience.  
Source
So I don't feel quite so badly about focusing for a post on some freebie resources that I have accessed, which you can access as well. I can be a bit of a miser at heart, so finding high-quality, inspiring, and instructive resources for free can really make my day!

Just yesterday on Facebook, a post appeared for Sketchbook Skool, which seems to have been created and facilitated by the wonderful Danny Gregory and Koosje Koene.  While there are many different Kourses (they love to spell everything with the letter "k"!) available for purchase, this Facebook post offered a free eBook entitled, Create with Love: Ideas to Share Your Love Creatively.
Source
Just in time for Valentine's Day, Nelleke Verhoeff offers fun ideas like creating faces from hearts, and incorporating them into collage-style postcards; doodling with lips and kisses; creating a "personal pie" (you'll have to see the eBook to understand!); creating sticky note love doodles and a love garland. There are projects for poems and patterns, as well as alphabets and abstracts.  All fun, all free.

After I signed up and received my free eBook, I received an email inviting me to take a free Sketchbook Skool Kourse.  It didn't take long to watch through each of the lessons, and with the unlimited access, I can go back and take my time, working through the exercises that were presented. There is a fun exercise about recording your day in the style of a comic book, instruction on sketching using negative space, as well as instruction on continuous line drawing.  These are all great exercises that could keep a beginner sketch artist (and a veteran, too, I would imagine) busy for quite some time as they began a "sketch habit."
Source
The Sketchbook Skool blog also offers a variety of free inspiration and instruction through the text, pictures, and videos incorporated into its posts.  

Finally, I made a list of all of the instructors mentioned throughout the Sketchbook Skool web site, and discovered that plugging them into a YouTube search uncovered hours and hours and hours worth of free videos offering their instruction and inspiring looks at their own sketchbooks.
Source
I think it is very important to support art instructors' effort to offer quality instruction through their for-sale products.  But I also know that costs can sometimes be prohibitive for people who want to explore different or unfamiliar fields of art or creativity.  I continue to be excited about all of the resources that these same talented and dedicated artists have made available for us for the low cost of an Internet search.

I just couldn't keep these free resources to myself!

Saturday, January 14, 2017

Make It/365! Two Weeks In

I've been keeping a record of all of my 2017 "making," and I thought I would share some of the entries with you so you can check out my progress.  As promised, I have used the word "make" to refer to actual creative enterprises, as well as more abstract endeavors .  Check it out:

In the first two weeks of the new year, I have:

  • Made an effort to find a friend's lost dog by going door to door in my neighborhood.
  • Made a big pot of spaghetti.


  • Made a blog post. 
  • Made it to church on the first day of the year.
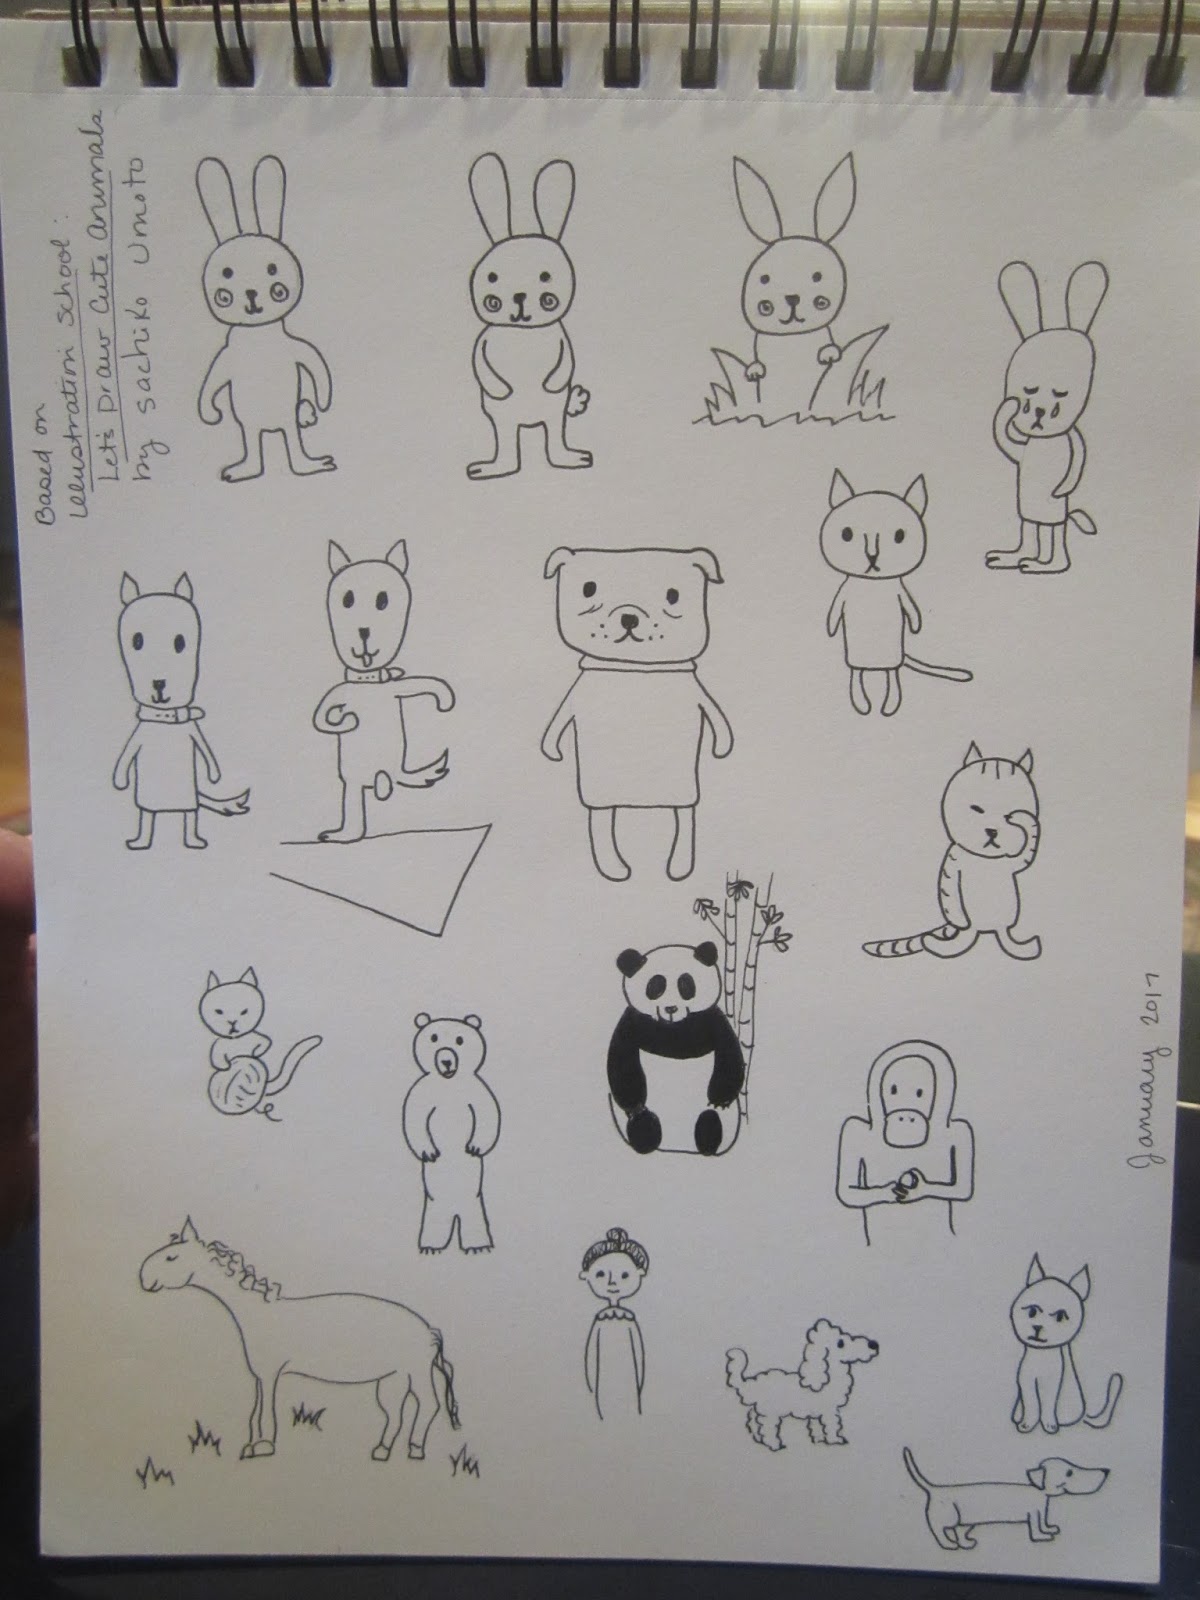
  • Made "cute animal" sketches in my sketchbook.


  • Made school lunches again after the winter break.
  • Made a master list of DIY cleaning products from a binder full of notes and clippings.
  • Made an appointment to start getting allergy shots (and made it to my appointment).
  • Made our house cleaner than it's been in awhile.
  • Made Valentine doodles in my sketchbook.

  • Made it through to the end of a book I was reading.
  • Made an afternoon snack for six little girls having a play date.
  • Made erasers out of eraser clay with my daughter.

  • Made a yummy dinner of spiced mini-burgers and pita bread.
  • Made excuses to myself about why I'm not making things in my craft room.
  • Made a beautiful dinner of roasted chicken and vegetables in a cast iron skillet.
  • Made a smoothie for lunch.
  • Made gingerbread cookies with my kids.


  • Made it through a major mishap--washing an entire box of tissue the girls let fall in their laundry basket.
  • Made my exercise goal on my new watch (on just one day, lol!).
  • Made chocolate chip banana bread.
  • Made a lunch date.
  • Made a Pin the Gumball on the Gumball machine with my daughter for her birthday party.

It's been fun to reflect on my day each evening through the lens of "making"..."what have I made today, anyway?" I hope to do more traditional making--working my way through the supplies in my craft room and the pins on my Pinterest boards--but until I get to it, I like seeing all the other ways "making" makes an appearance in my days.

Keep those ideas coming for my Make It/365 list! I got some great new ideas in the comments for my last post, and I will continue to add and update along the way.

Thursday, October 13, 2016

In Memoriam

Stella Kaskey (1997-2016)
I lost my long-time feline companion, Stella, on Tuesday afternoon. She has been by my side since I was 24-years-old and she was just 3-months.  My first husband and I found her at the SPCA after she had spent her earliest days on what I like to call "the mean streets of Kensington" in Philadelphia.

She was a fighter from the beginning, making sure I did not change my mind about adopting her.  I told this story on Facebook already: I had spent some time playing with her, and decided that she was the kitten we would take home with us.  But when they put her back in the cage so we could fill out the paperwork for her, I had a moment's hesitation when I saw an adorable little tuxedo cat two cages up.  He was all black with a little white marking right where a bow tie would be.  I mean, adorable!!  But Stella was watching me the whole time, and she clawed her way up the front of the cage and looked at me with these meaning-filled eyes, and I could hear her just as surely as if she spoke out loud: "Don't you dare change your mind, lady! I am coming home with YOU!"

It was tough to find a name for Stella.  The "finalists" were Zelda and Stella--Zelda for F. Scott Fitzgerald's wife, and Stella for--no, not A Streetcar Named Desire!--Sir Philip Sidney's sonnet sequence Astrophil and Stella.  (My college English professors would be proud!)  I think it was a year until I felt like the name Stella was the proper fit.  Now, of course, I couldn't imagine any other name.

I had just accepted a job to teach at Haverford High School when we first brought Stella home, but summer vacation wasn't yet over, so I spent the first day with her just sitting on my lap to get to know me.  We literally sat on the sofa for hours, she just getting a feel for me and looking around at the apartment, her new home.  We really bonded that day, and it was a bond that lasted us for the nineteen years that followed.  I told her, "You have to live until I'm at least 40 years old.  That's a requirement!" And she met her obligation, and then some.  She lived an extra three years beyond.

You can see that we had a tendency to order each other around!
Stella has lived with me in four different apartments and two houses.  She's been on road trips and in airplanes many times in her younger days.  She has been by my side through a separation and divorce, a remarriage, and some highly questionable boyfriends in between.  She has comforted me through countless sad days and sicknesses. She was there for me during the absolute anguish of two miscarriages and the amazing joy of two births.  She was always a notoriously crabby cat, but she fully accepted and loved my husband, and let my daughters mess with her in ways that no one else on earth was allowed to.

Last night, to try to make me feel better, my husband said, "She was a sweetie." I looked at him and laughed, saying, "Did you even KNOW Stella?"  I've been calling her a crabby old lady for years; she would have given Grumpy Cat a run for his money.  I can't tell you how many times I've said to people who come into our home, "Um, you might not want to pat her; she's not all that friendly," while thinking what an understatement that was.  An unwelcome pat brought growls and a severe paw padding, and she even spit at the veterinarian once.  How embarrassing!

But I loved her spirit.  Somehow I needed her to love and accept me, even when everyone else in the world seemed to annoy her.  And then when my husband Michael came along, and I saw how much she accepted him, I knew he was The One.  We both agree that she was instrumental in making (allowing?) our marriage to happen!
Every morning and throughout the day, I find myself looking over at "her spot" on the sofa.  She didn't move around too much in these final months, so I still expect to find her there.

There's a little Stella-shaped hole in my heart.

Rest in peace, little girl.

Monday, October 3, 2016

Zen-tober!

 A Zentangle page for October in my 5"x8" sketchbook, completed with a dual-tipped Zig Writer pen in black ink.  Begun while waiting for my girls in the school pick-up line, completed while watching a movie with them on a Saturday afternoon.

Friday, September 30, 2016

About Face

I really love sharing my creative efforts and learnings with my two daughters, ages 7 and 8.  I always tell them, "It's a good day when you learn something new," and I try to let them know when I am working on learning something new myself.

A teachable spirit is one of the greatest assets a person can possess.

This past Saturday morning, we sat down together at the breakfast table, and I showed them the "proper proportions" for drawing a human face.  Even though I am far from mastering this, the three of us drew together, and learned together, and had a go at face-drawing together.

I thought it would be fun for you to see the difference a little information can make.

Just a couple of weeks ago, my 8-year-old drew a portrait of me for school, citing me as her hero, and labeling her picture "Hall of Fame Mommy."  Now, make no mistake: I love every single thing about this portrait she has drawn! But I am using it as a "before," in the sense that she had not been taught facial proportions.  The drawing next to it is what she drew after learning some of the basics: 
(Never mind the tree growing out of the top of his head.  That was her imaginative addition later in the lesson!)

My seven-year-old was also learning facial proportions, and here you can see her results on the left, alongside her sister's on the right:
I think they did a phenomenal job for their first-ever faces based on new information!

Here is the "cheat sheet" I was using in my sketchbook--some tips I picked up from various sources about drawing realistic faces:
The basic guidelines we worked from include:

  • The head is shaped something like an egg (whereas many children are inclined to start with a circle).  
  • The eyes are placed about halfway down the head.  
  • The face is roughly the width of five eyes across.  
  • Eyebrows are a bit wider than each eye, and tend to grow thicker toward the nose. 
  • The top of the ears are just above the eyes, and go down to the halfway point between the eyes and the bottom of the head. 
  • The hairline is 1/3 to 1/4 of the way from the top of the head to the eyebrows. 
  • The bottom of the nose is around the bottom of the ears, at the halfway point between the eyes and the bottom of the head. 
  • The bottom of the lip is at the halfway point between the earlobes and the bottom of the head, and its width is about to the eyes' irises. 

I'm pretty sure the girls thought I had lost my mind with all these guidelines, but they were troopers, and pulled through with amazing first efforts!

What they really enjoyed, though, were the cartoon faces from the book I had checked out from the library and played around with myself.  They found it a little hard to work through the cartoon faces on their own, but had no problem when I talked them through the steps while drawing my own examples.
My 7-year-old's cartoons
My 8-year-old's cartoons
It's a good day when we learn something new.  

I love challenging myself to try new things, and I also love watching my girls doing the same.  What will you try to learn today?

Tuesday, September 27, 2016

Etegami: Japanese Mail Art

Etegami by Nancy Bea Miller
This past Saturday, I attended my first class at the Main Line Art Center, in Haverford, Pennsylvania.  Nancy Bea Miller taught a group of seven of us about an art form known as etegami.  I came across the class in the Art Center's online catalog, and was drawn to the fact that it incorporates drawing, watercolor painting, rubber stamp carving, and mail art all in one art form.

Never having heard of etegami before, I did some research before the class took place. I came across the web site of Deborah Davidson, who serves as kind of an "etegami guru" for Westerners.  (Perhaps she should be called an "etegami Sensei"!)
Etegami artists at work
I found out that etegami is translated "picture letter," and can be called a form of Japanese folk art or mail art (because it is usually created on postcards and mailed).  Etegami usually contains a simple image, accompanied by some carefully chosen words, as well as the hanko, or stamped "signature" of the artist.
A summary by Nancy of the main characteristics of etegami
The art form is considered a "one shot deal"--no planning, no sketching.  There are no rough drafts.  The artist uses a line drawing brush and liquid ink to draw a picture of some object she is currently viewing.  She then adds color with another brush and two to three colors of watercolor paint.  (Traditionally, the artist uses water soluble mineral based gansai paints, which some of my classmates were fortunate to possess, but I used the basic Western version of watercolor paints.)
Nancy's workspace before the class began
Nancy's workspace during class
The traditionalist might paint her image from colors she has organized in a porcelain dish with shallow compartments for mixing the paint colors; many of us used standard watercolors in plastic pans.  The traditionalist might paint upon washi postcards called gasenshi; many of us used watercolor paper cut to 4 x 6 postcard size.  Our hankos were carved from pink erasers, going to show that there are perfectly adequate substitutes for pricier or harder-to-access supplies for the artist who wishes to jump in and try something new!

On her web site, Deborah Davidson explains the origins of etegami by describing how Japanese calligrapher Kunio Koike developed the art form in the 1960s because he wanted to develop something more spontaneous than what he was studying; he is now considered the Father of the Modern Etegami Movement.
Etegami samples by one of my classmates
The etegami motto is Heta de ii. Heta ga ii.  This is translated along the lines of, "Clumsiness is no problem. Clumsy makes it better." All of us in this beginning class at the Art Center felt pretty comfortable moving forward with a motto like that!

When I watched videos of artists creating etegami online, I saw them sitting up very straight, their elbows raised, and their forearms stretched in front of them at the same height as their elbow.  They hold the brush at the very top, quite lightly between their thumbs and first two fingers.  The brush essentially dangles down so that only the tip touches the ink to the paper.

On the web sites I was using for research, it was emphasized that the artist is to control the brush's movements with the upper arm, rather than with the wrist.  (Somewhere I read that when you hold the brush like a pencil or pen, you focus more on "drawing well," which is not what etegami is about.)
Nancy demonstrates etegami by drawing two peppers.

Our teacher Nancy reinforced the idea that we should move the brush quite slowly in order to make a more interesting line drawing.  The goal is actually not to have too much control of the brush. Wobbly lines are good! Wobbly lines are preferred!  They are "living lines" that give the work more character, and let the ink interact with the artist's heartbeat.  
Etegami creator Kunio Koike recommends spending up to 30 minutes practicing lines, letters, spirals, and other shapes and motions with the ink and brush before beginning a new work of etegami.  Since many of us enjoy the fact that etegami is a rather "quick" art form to engage in, preceding it with 30 minutes of practice is probably not feasible for most of us! But I enjoyed our ten minute warm-up more than I thought I might.  I can see the value in spending time getting "re-acquainted" with the brush, the way it makes contact with the paper, and the way the ink moves between brush and paper.
Getting to know my brushes and ink during the warm up session
Etegami uses as its subject matter the things of everyday life.  Traditional etegami often reflects the seasons through such things as fruits, vegetables, and flowers.  Many etegami artists will draw toys or other objects that surround them in daily life.  Like sketching, etegami makes the artist pay closer attention to things around her.  I found myself looking at things and thinking, "Hey, that would make a good piece of etegami!"
Nancy set up a table of objects for us to choose from as subjects for our etegami.
A close-up of some objects, with a sample of Nancy's beautiful etegami in the background
Nancy suggested that we start our drawings off the edge of the paper: the lines of the object run off the page so that the drawing looks like it is completed somewhere beyond the boundaries of the card.  This approach forces me to draw the object much bigger than I would have a tendency to otherwise, and gives a very vibrant, graphic quality to the painting.

The color is applied more by rolling or tapping the brush, rather than sweeping the brush across the paper.  Etegami doesn't result in photographically-correct images, which is probably another reason it is an approachable art form for the beginner.

The words used on the card can come from song lyrics, poems, or quotations.  The ones I appreciate most are the ones that introduce some sort of humor related to the object that is drawn.
My work space at the beginning of class
My work space at the end of class
I love the fact that etegami is created from the "stuff" of everyday life.  I don't have to look far at all to find a subject for a piece of etegami--the remote control on the coffee table, the cat curled up beside me on the sofa, the apples in a bowl on the kitchen counter, the weeds growing up in the garden outside my window, the butterfly that just landed on the bush, the back of the car parked in the garage, the toy pony my daughter left on the living room floor...any or all of these things could become a perfectly legitimate subject for a new piece of etegami.

In fact, I think I'll go make one now...
******************************************
Some more photos of my etegami classmates at work:
I will share some of my own etegami in a future post!

Wednesday, September 21, 2016

Making Faces

I have discovered that anytime I want to learn something--about history, science, art, or anything else--one of the best places to start is the kids' section of the library.

Sometimes when I go right away to the resources intended for grown-ups, I can get overwhelmed with information or frustrated with the complexity of the subject.

Just the other day, while browsing through the art section for kids, I came across the book Drawing and Learning About Faces, by Amy Bailey Muehlenhardt.  It took me back to when I was a kid, wanting to learn how to draw cartoon faces, but so desperate to be perfect that I just ended up tracing the pictures at the end.
 Well, this time (thirty-plus years later, ahem), I decided to try my hand at honestly following through with all of the directions to create the eight faces in the book.

(That's another reason to love kids' books:  Eight faces...that's it! I can definitely handle eight faces, and then feel the achievement of making it through the whole book.  Mind games...they work every time!)
The author provides step-by-step instructions for drawing the ovals and adding each of the features to create a face that expresses a particular emotion.

There is happy:
Embarrassed:
Angry:
Surprised:
Excited:
Sad:
Bratty:
And scared:
I kind of love these fun little cartoon pages in my sketchbook, and I'm looking forward to my girls giving some of the faces a try for themselves.  I think they'll be amazed to discover that eyes are actually situated about halfway down the head! And excited to see how that one simple change brings a better result to their drawings.

Now, I think I'll head back to the kids' section to see what other drawing books they have!