Wednesday, January 4, 2012

Playing Tag

I don't remember where I first heard about Nathalie Kalbach's Creative Jump Start Summit, or when I signed up for it, but I'm sure glad that I did!

Nathalie has lined up a month's worth of artists and creative types to offer a daily video or blog post to offer creative encouragement to participants.  The inspiration is free, and sent directly to my email account each day.
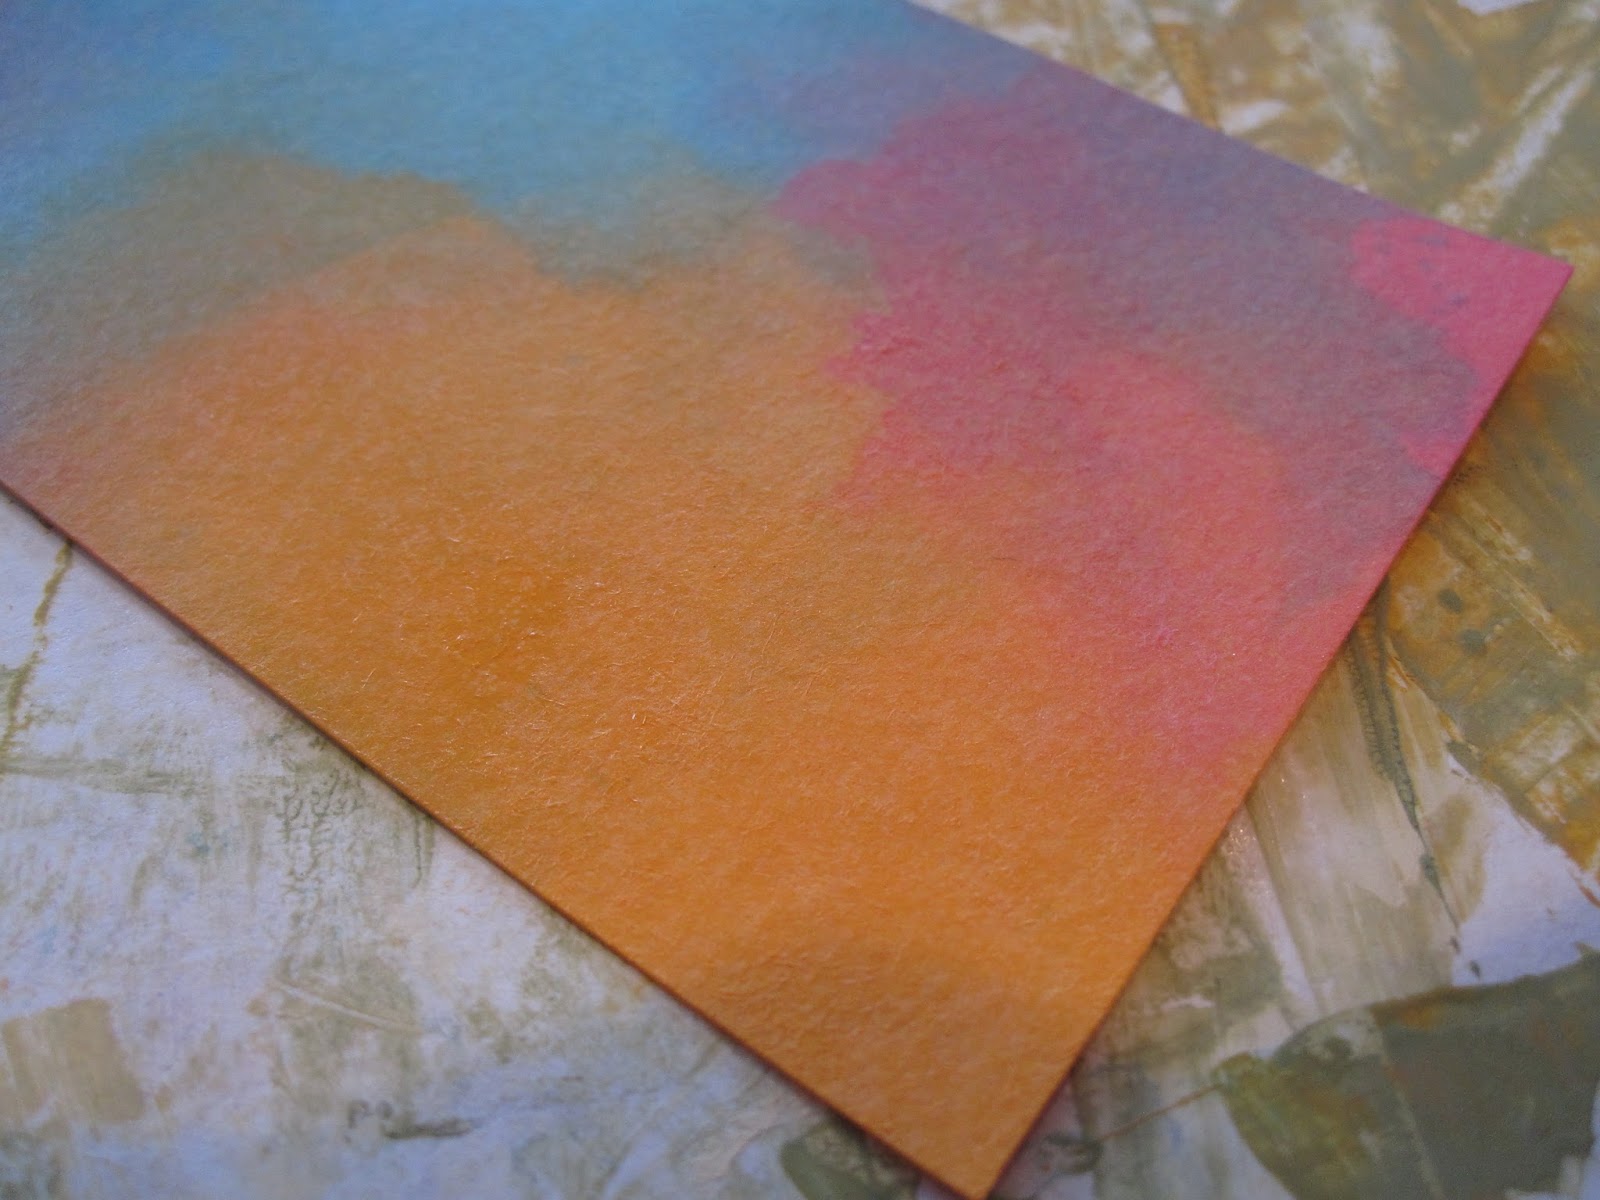
On the first day, Dina Wakley encouraged us to pull out paints to just play around.  She suggested spritzing paint from bottles onto palette paper, and then using shipping tags to smudge the paint around and enjoy the results.
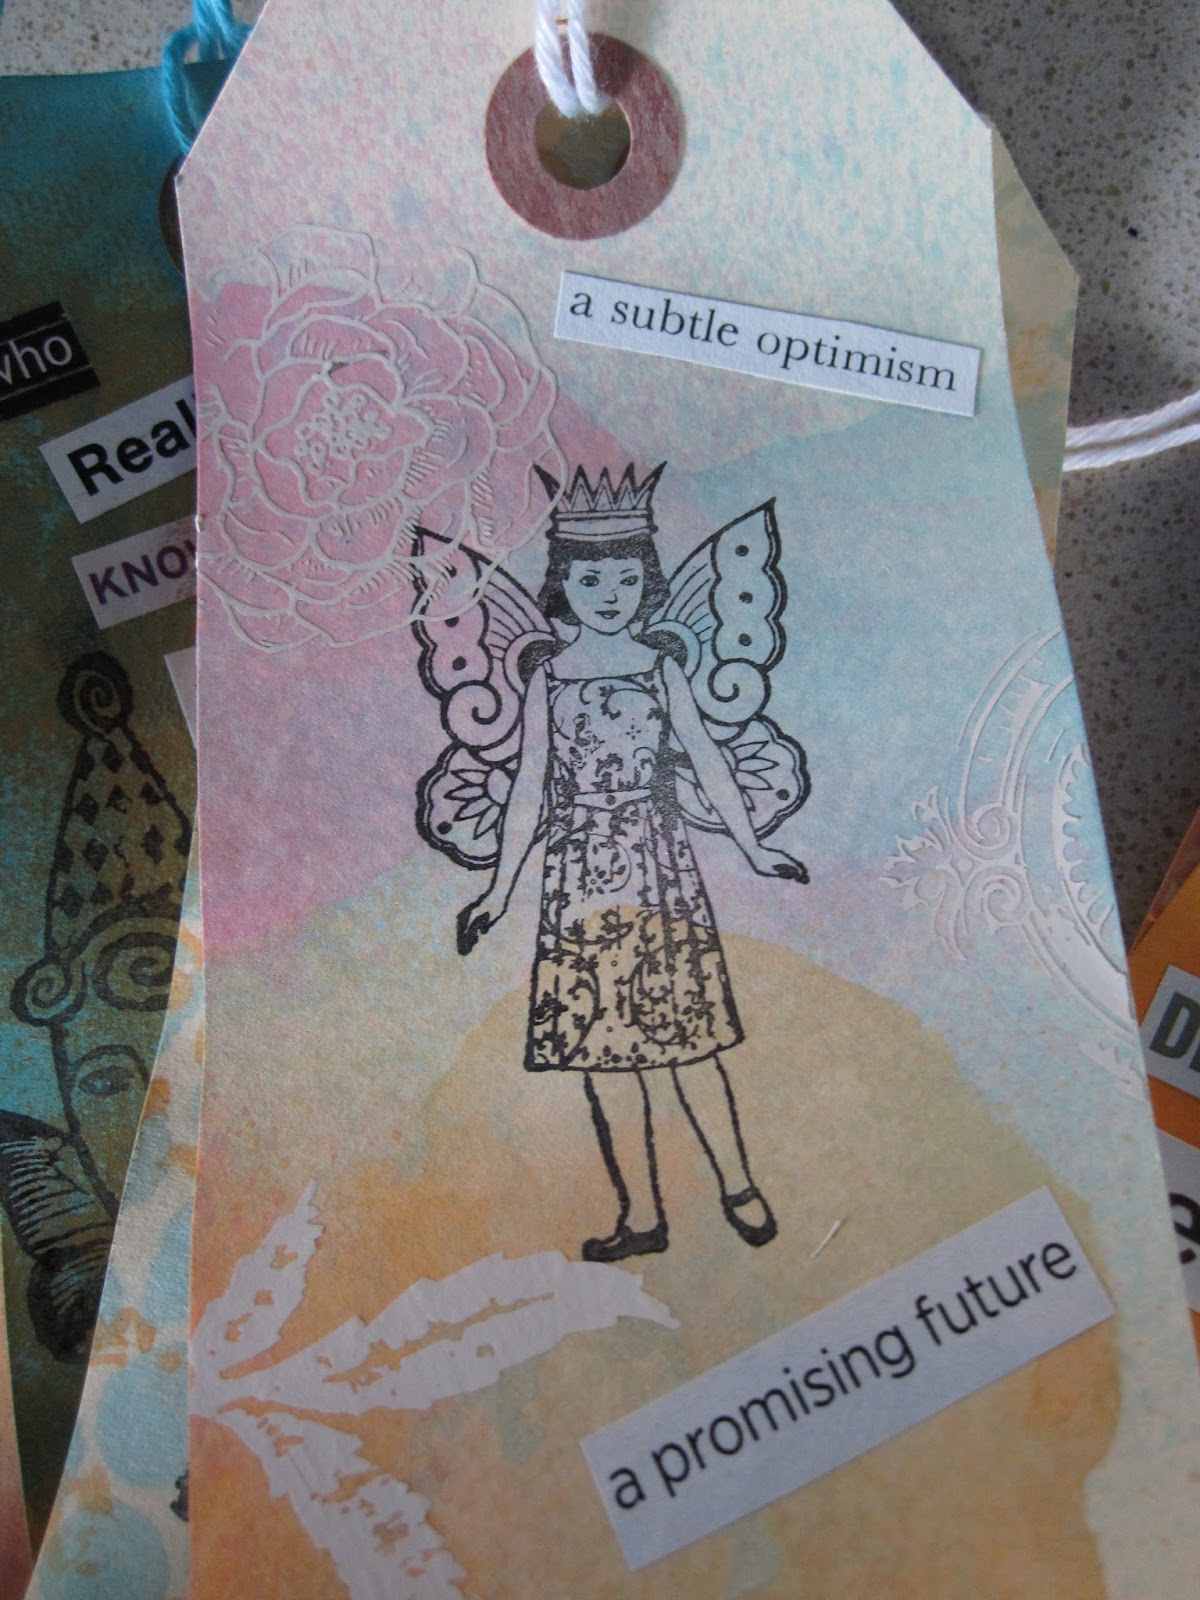
I've never used paint in a spray bottle before, so I just mixed acrylic paint with water in some spritzers I bought from the travel section of Target awhile back.  I think I got it a little thin, as it was hard to get bright colors on my tags, but overall I was happy with the result.  It set me off to spritzing through punchinella and onto bubble wrap.  It was definitely a Jump Start for me, and turned into a project in its own right.
I added stamped images to my tags, and then used white rub-ons to add subtly to the design.  Finally, I sorted through my envelope of clipped words from magazines and glued down some interesting phrases to finish up the tags.
I don't know what I will use them for--maybe for packages, swaps, or my art journal.  I just know that Dina's video made me pull my paints out again after a bit of a hiatus, and I had lots of fun!

**********************************
I was excited to find out from "Ceparie" at the Art of Collage that Jenny Doh shared my Paper Tape Silhouette Tutorial on her web site CrescenDoh yesterday, January 3.  Check out all the fun links and projects she provides each day! 

Tuesday, January 3, 2012

Things to Do in 2012

It wouldn't be the New Year without making some resolutions, now, would it?
Last year, I made many, many very specific monthly resolutions, and then promptly lost the little book where I had written them. 

Much more effective for me was the practice of choosing a word that expressed my intentions for the year.  In 2011, I chose the word BEGIN, and kept it at the forefront of my mind as I started maintaining my blog, keeping an art journal, participating online in swaps and courses, and preparing for my first craft show. 
For 2012, I have chosen the noun WINGS (after considering alternatives such as BLOOM and GROW) to suggest a movement forward from the beginnings I enjoyed last year. 
I also thought of some general goals for the year, and created a page in my new art journal (which I am maintaining at the same time as my Book of Days).
I am working on interesting lettering for my art journal and other art pieces, using The Scrapbooker's Handwriting Workshop by Crystal Jeffrey Rieger, a Christmas gift to me from my mother.
The font I've used here is called "French manicure," and I think it's pretty and fairly easy to create.  I also played around with the new Derwent Inktense Watercolor pencils that my mother also got me for Christmas.  Because of the thinness of my paper, and the collage I had glued to the back of this page, I didn't get the very best results that I know I'll be able to get eventually.
My 2012 "To Do" list:  Eat well, run often, pray always, create art regularly, occupy the moment fully, invest in friendships generously, read widely. 

What's on your list for this year?

********************************

Karenann followed my airmail envelope jotter notebook tutorial and created her own notebook.  Check it out here.  It looks great!

********************************

One of the great things about collaging is you can have piles of things scattered all around your workspace, and sometimes things just come together seemingly like magic.  A few weeks ago when I had all sorts of magazine words and phrases on my desktop, these three pieces fell together:
Great, isn't it?

Saturday, December 31, 2011

Tutorial: Paper Tape Silhouettes

I have discovered another fun new way to use all those fabric, paper, and washi tapes we have all been hoarding...a project that adds some interest to art journal pages, too...Paper Tape Silhouettes!
Above you can see how I used both the positive and negative space of some of the silhouettes I created for an art journal page exploring my Word for the Year for 2012.

Here is a step-by-step description of how you, too, can create Paper Tape Silhouettes for your art journal and other projects:

Step 1:  Cut an image from a magazine or catalog, from which you will create your silhouette.  It's fun to choose an image with an interesting outline--feet taking a step, arms outstretched in a dramatic gesture, skirt in a swirl.  Cut very closely along the edges of the figure.
Step 2:  Use a pencil to draw around the cut-out image onto a piece of white paper.
Step 3:  Cut out the image you just drew on white paper with pencil.
Step 4:  On another piece of white paper (I use drawing-weight paper), start laying down strips of paper tape, using the white cut-out as a guide for how wide the strips need to be.  (Don't waste too much tape by laying down lots more than you need!)
Step 5:  Keep going, laying down strips the full length of the cut-out image.
Step 6:  Again, draw the figure's outline in pencil.  This time, use the white cut-out as your guide, and trace the figure onto the tapes.
Step 7:  Cut out the silhouette that you just traced in pencil.  You are left with your Paper Tape Silhouette!
Step 8:  You can also use the "negative space" left over from cutting out the figure.  Just add a little piece of tape to the back of your cut line (you can see my cut line just above the "4" on the right hand side).  It holds the paper together, and you can barely notice the line when you use the paper in your art journal.  You are likely to cover it over with some other image anyway!  Or just extend some more tape over it.
So, here are three examples of Paper Tape Silhouettes that I have made:
And here is a close-up of the journal page I showed at the beginning of this blog post.  I used the silhouette of a little girl twirling around in a skirt:
I also used the negative space from the silhouette I created step-by-step above to practice lettering by writing out a quotation:
Learning to do some interesting lettering in my art journal is a current project of mine...something for another blog post entirely!

Have fun with your Paper Tape Silhouettes!  Let me know if you try them out; I would love to see your results!

And, by the way, HAPPY NEW YEAR!