Thursday, November 29, 2012

More From the Mailbox

Today I'm sharing some of the other art goodies I have enjoyed finding in my mailbox over the past month. 

First, from Laurie of Lone Black Bird, this lovely hand-drawn thank-you note:
I love the time she takes to add a personal artistic touch to her cards!    (And I'm a big fan of the washi tape on her envelopes, too!)

Next, I want to share a fabulous stitched piece by Viv of Live. Grow. Nourish. Create.  On her fantastically-named blog, Viv shares her drawing, stitching, and home-schooling adventures.  When she posted about drawing with her sewing machine, and shared some of the results of her collaging experiments, I happily offered myself as a recipient of her work.  And luckily for me, she took me up on it, and sent me this piece:
It will be finding its own spot on my craft room art wall!

Next, I received a journal in the Mail Me Some Art duct tape journal swap.  This book came from Barbara in Massachusetts--a nice, big notebook with a variety of handmade and found papers to inspire my art journaling.
There is no better way to assure goodness in your mailbox than to join in on a swap.  You get what you give!  If you are interested, be sure to check out Karen's Mail Me Some Art site in the new year for new swaps.

For another one of her swaps, we created bookmarks.  I was lucky enough to receive one from Karen herself:
And here is bookmark #2, front and back:
And bookmark #3, front and back:
Heaven knows I have enough books lined up to read to give these bookmarks a workout!
 
Finally (for now), I just received this colorful see-through confetti package from Mary, Mary, Uncustomary:
She sent me a whole bunch of unique magnets, from a decorated clothespin to a layered paper flower, to a Greek souvenir, to a beautiful Anahata Katkin piece from Papaya.  Now I wish my fridge was in my art room!

Many thanks to the wonderful artists and correspondents who help keep our mail art friendships alive!  If you are interested in doing any swaps with me, please check out the Swaps tab at the top of my blog, and get in touch!

Monday, November 26, 2012

Fabric Circle Topiaries

Source:  Cloth Paper Scissors Today e-Newsletter
The latest edition of the Cloth Paper Scissors e-Newsletter shared a tutorial for making the "Fabric Circle Topiaries" pictured above.  They are featured in the 2011/2012 edition of CPS Gifts magazine. 

Don't the flowers look exactly like the layered fabric flowers I blogged about earlier this month?!  I could use dressmaker pins to affix them to a styrofoam tree form, and I would have a Fabric Circle Topiary of my own!

I'm not sure the project really suits my style, but it was still super-fun to open up the e-mail message and see something that uses an element so similar to what I had just created.

Sunday, November 25, 2012

While You Have Your Duct Tape Out...Part 2

After I made duct tape envelopes last week, I was further poking around Brit + Co. and found her tutorial for creating gift bags from duct tape.  If your duct tape is pretty and your gift is flat (like a book or card set), this is a pretty clever idea. 
The project has the added advantage of using papers that would otherwise be thrown into the recycle bin, like old catalog or magazine pages. 

When Brit created her gift bags, she used two separate pages for the two sides of the bag.  She laid down two criss-crossed layers of tape, and then taped three sides together.
For my bags, I used a single catalog page and folded it in half.  Then I just laid down one layer of duct tape, wrapping it around the edges to the other side.  Then I laid down one layer of tape on the other side, trimming the edges this time.  Finally, I used tape to reinforce the bottom.  I wasn't consciously trying to save tape, but my approach uses less tape anyway. 
One thing I did try to do consciously was select a catalog page that looked pretty when you peer down into the bag.  Pottery Barn Christmas catalogs have pretty full-page photos of decorated tables and trees.
The final step involved punching two holes at the top and inserting a ribbon to tie in a bow at the front.  Brit suggests that you could also use a shoe lace or yarn, and include a duct tape gift tag--cute!

Just another gift-wrapping option for you to consider this holiday season!

Friday, November 23, 2012

Mail Art: Playing Catch-Up


I have received so many wonderful pieces of mail art over the past couple of months, and it is long overdue that I should reciprocate. I have had some time these past three days of this relaxing Thanksgiving holiday to create several postcards to get out to my mail art buddies across the world. I want to share the postcards with you without revealing their destinations so that everyone can be surprised by what shows up in their mailboxes!  Here is a "gallery walk" through some of the postcards I've been making:
I've been looking at Lenore Tawney's collages, and her influence can be clearly seen in
some of the postcards, such as these, above.
Another Tawney-influenced collage.
I used a decorative tape silhouette, of the type I blogged about making quite awhile ago.
 
This is one of my favorites.  I just went through my envelope of scraps, usually reserved for altering Rolodex cards, and put down bits and pieces that I liked the look of.  I love the images and the grid-like composition.
Cue the music:  "These are a few of my favorite things..."  Maps, foreign language txt, postage stamps, decorative tape!
A multi-layered orange affair.
I saw a stitched postcard like this at Anthropologie ages ago, and vowed to try one for myself.  I really like how it turned out, though my sewing machine was seriously protesting the thick watercolor paper. 
Another decorative tape silhouette.
I will soon be sharing some more of the mail art goodies that prompted this outflow of postcard creation, as well as my blog entry, "While You Have Your Duct Tape Out...Part 2"...Stay tuned!

Sunday, November 18, 2012

While You Have Your Duct Tape Out....Part 1

By now, I'm sure that you have made at least one duct tape journal...right?

I even got my mom on board while she was visiting last month, and she sent me the most beautiful and touching embellished journal in the mail yesterday.  It had all the things in it that I needed to see and hear right now!

But I digress....

While you have your duct tape out--making duct tape journals--there are a couple of other projects that you should also try.

I found a duct tape envelope project bookmarked in my Favorites, and as you know that I love making my own envelopes from magazine pages, maps, calendar pages, and just about everything else, you know that I had to give it a try.
You can find directions for making duct tape envelopes at Brit + Co.  Basically, I followed Brit's instructions for creating a kind of "duct tape paper," if you will, and then followed my own envelope tutorial steps for creating the finished product.  So here is what I did:

1.  Following Brit's instructions, I laid some (super-cute) Hello Kitty duct tape in overlapping strips straight on top of my cutting board.
2.  I pulled the sheet of duct tape off the cutting board and turned it over.  Then I laid down overlapping strips of a different duct tape on the back going crossways.
3.  I used one of my envelope templates to draw directly on the duct tape "paper."
4.  I cut along the lines, and here is the front side of the cut-out envelope:
And here is what the envelope looks like when I am holding it closed:
5.  To secure the envelope, I laid down another strip of the duct tape right across the back, and then trimmed the edges.
And that's it!

Here's a peek inside:
And here's my duct tape envelope collection so far:
I can't wait to send one of these lovelies through the mail!

Sadly, I am officially out of Hello Kitty duct tape.  I am feeling a certain incentive to expand my duct tape collection!

Stay tuned for "While You Have Your Duct Tape Out...Part 2"!

Thursday, November 15, 2012

Our Lady of the Sketchbook

I've been developing an interest in the role of Mary within the Catholic faith. 
As a Protestant, I do not see any emphasis placed on Mary in worship--not prayer, not sermons, not songs.  And yet she is so central to Catholic worhip that it has made me curious about her.  Especially when she is so honored and revered within a system that does not seem to accord much power to women in general. 

While reading more about Mary and Catholicism in general, I have also been interested in the imagery of Mary that I've encountered. 
While my girls were in a library storytime recently, I picked up a few books from the kids' section, including The Lady of Guadalupe and Mary the Mother of Jesus, both written and illustrated by Tomie de Paola.  The pictures have bold lines and colors that I find immensely appealing.  Some of them have found their way into my sketchbook with greater and lesser results.
I am actually very pleased with how they came out, even though I see every fault loud and clear.  I think the colors are lovely and bright, and I love the boldness of the lines, mimicking de Paola's beautiful style.  I obviously can't draw a face to save my soul, and I labored over the hands until I just had to accept the results. 
There is some advantage to drawing with the audience that I do.  I drew the first picture with Bayla at my left elbow and Katy at my right.  At one point, Katy pressed, "Mommy, you sure are taking a long time to draw those hands!"  But I think it was good for her to see me draw, erase, draw, erase, and continue to draw again until I could accept the results. 
Having the girls there, though, forced me to accept the results sooner than I probably would have if I were on my own, so I could get the page done and move on. It's a sketchbook, after all!  I have lots more chances to master eyes, mouths, noses, and hands.  I'll get there!

Monday, November 12, 2012

Layered Fabric Flowers

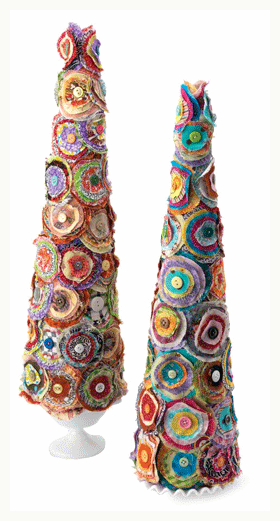
I was seeing photos of layered fabric flowers in all sorts of publications and on all sorts of web sites, and I knew I wanted to try making some.  When I ultimately saw a piece about them as a kids' craft in Disney's Family Fun magazine, I knew it was time to sit down and see just how easy they are to make!
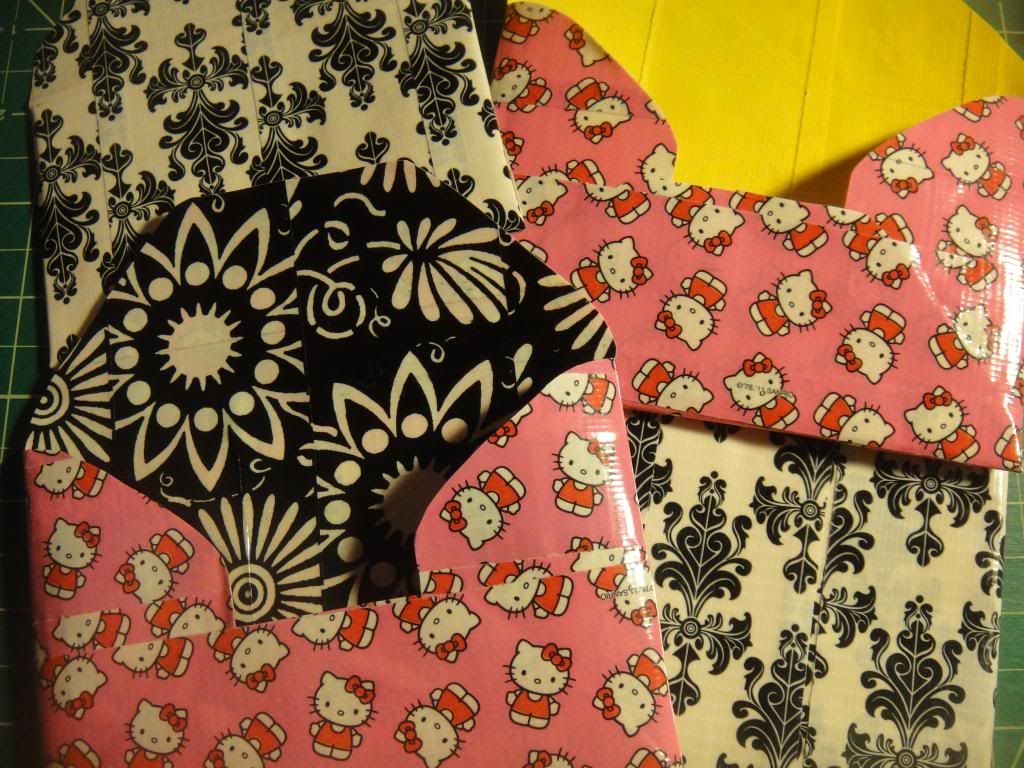
I have a stash of my children's outgrown clothing--pieces that I've held back from the Goodwill donations pile because something about the color or pattern makes me want to save it for a fabric project.  My two big fabric bins also hold several pairs of old jeans and some of my own old sweaters.  I used this supply to choose cloth for my layered flowers.

I separated the pieces I found pretty into "color families"--groupings that I thought looked nice together.  From there I used a circle template to draw with a fabric pen (the kind with ink that disappears within 24 hours), and then cut the circles freehand from there. 
Once I stacked the concentric circles one on top of another, I chose a button from my collection for the center.  I pulled out several of my favorites, and my daughters helped me to make my choices.  They loved playing with the buttons, and checking out different ones to see which looked best with the stacks of fabric circles.  I maintained veto power, and they took my rejections well as long as I let them play with the remaining buttons while I stitched the chosen one to the center of the fabric flower!

I use a small straight pin to attach them to my shirts (though perhaps a safety pin would be a better idea!), and have worn the flowers out to lunch and to two recent craft fairs.  I have always gotten positive, though not effusive, comments on them. 
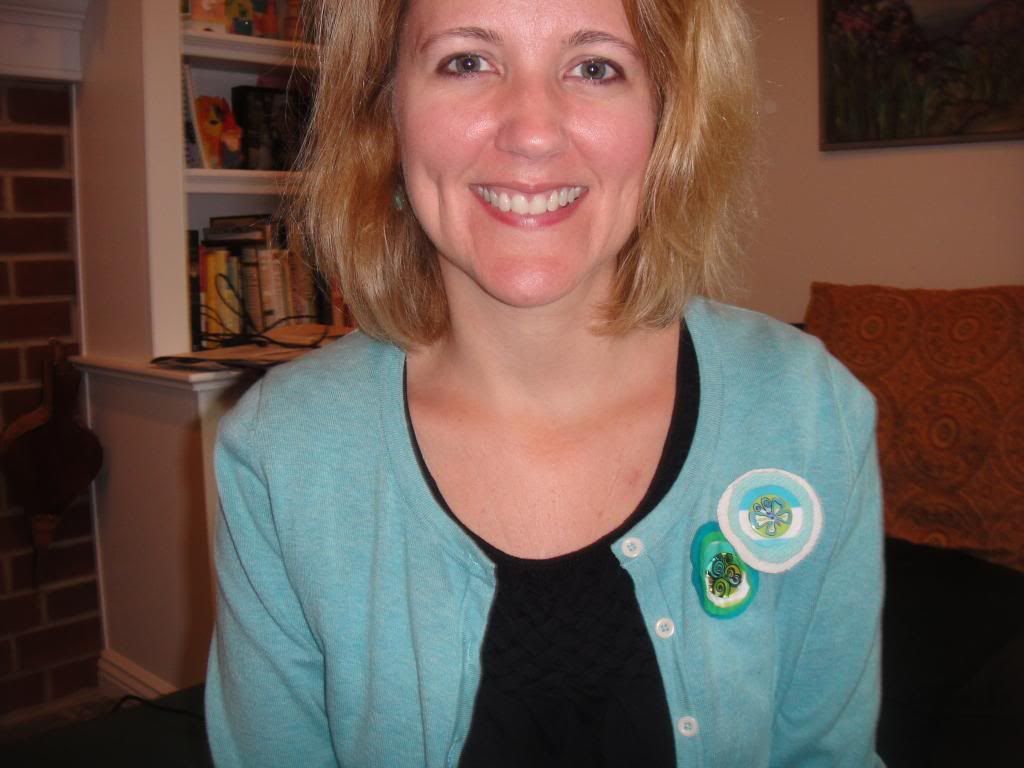
I guess I can't blame the horribleness of this photo on the fact that my three-year-old took it.  She's not responsible for that terrible hair-do, after all.  But I DID want you to see the flowers on my sweater!

If you look closely, you can see a different two flowers pinned to my sweater for the firehouse craft show.
I tried doing some freehand stitching on one of the pins to see if it added anything to the look.  It was quite a challenge to stitch on such a small space with a button right smack in the middle of it all!  I didn't ultimately feel that it added anything, though I might try again prior to attaching the button.  Maybe it will add to the design rather than looking like an afterthought (which it was)!

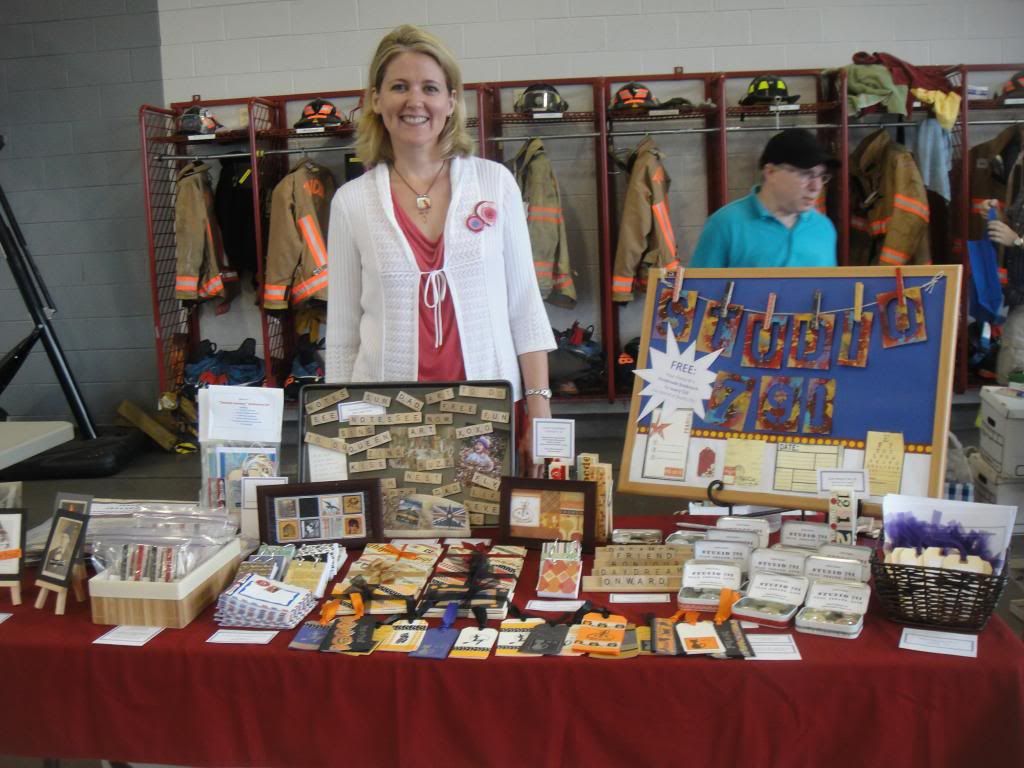
And just in case you were hoping to see yet another photo of me behind my craft show table display, here is a picture of my spread at the Interboro High School Fall Craft Fair this past Saturday. 

You can see another layered fabric flower on my sweater here:  same sweater, different flower!
I was delighted to receive an entire cafeteria table for my goods; I was able to put out some things that I sometimes skip when space is tight.  For example, I offered my Colorful Journeys Stationery Sets for the first time in awhile, and sold three of them, which really pleased me. 
I don't make or sell anything that I don't like, but I do have special favorites, and take the greatest pleasure when people decide to take them home with them!

My last craft show of the year is on Saturday, at Haverford High School, where I spent 9 out of the 11 total years I worked in the field of education.  It will be fun to be in those halls again, this time selling my handmade art and crafts rather than teaching European History or World Cultures!