Sunday, August 31, 2014

Sketches from Paradise

I haven't quite developed the "sketchbook habit" that I am hoping for, but I have completed a couple more pages since I last posted with the leaves from my walk by the creek.  This time, I worked from photographs from my summer vacation in Hawaii
http://andria-drawingnear.blogspot.com/2014/06/top-10-hawaiian-vacation-memories.html
My inspiration photo
First, I sketched a bird-of-paradise plant from our hike up to Manoa Falls.  Following a pencil sketch, I outlined it with a thin black marker, painted it with watercolors, and strengthened the ink lines once the paint dried.
Following Alisa Burke's lead, I added a black-marker border and some journaling to capture a few notes about the subject matter. 
I get the most amazing feedback on my sketchbook pages from my budding-artist daughter, Katy.  When she saw my finished page, she threw her arms around my waist, sputtered a moment over what to say, and declared, "I love you, Mommy!"  If that isn't incentive to keep up my sketchbook efforts, I don't know what is!

Once I finished the bird-of-paradise page, my daughters wanted to watch me do a second page, and "voted" on the lizard we saw at the Nuuanu Pali Lookout on our trip. 
My second inspiration photo
Animals are clearly not my strong suit, and the girls clearly saw that, but enjoyed watching me work on the page and were gracious about my results!
 I always think I should point out, "in my defense," that most of my work is completed on the sofa with a five-year-old on my right side and a six-year-old on my left.  Not a whole lot of freedom of movement for this artist's elbows, and certainly no fear of drawing with an audience allowed!
I think I better stick to leaves and flowers for awhile!

Monday, August 25, 2014

Finding My Muse with Alisa Burke

I am a great admirer of Alisa Burke's drawing and painting style; I always look forward to the peeks into her sketchbook that she offers on her web site.  Awhile back, she offered a free video class entitled Finding Your Muse (I can't seem to find a link to it anymore to share with you, but you can check out another free video series called The Art of Chasing a Dream right now) which is also part of her online class called Sketchbook Delight.
In Finding Your Muse, Alisa encourages us to look up, look down, and find out what is in our world to recreate in our sketchbooks.  To me, this is important advice.  Whenever I try to re-start a drawing practice, I burn out on traditional drawing exercises (spheres and coffee cups and flower vases), or focus on re-creating other's drawings.  Instead, Alisa advises us to find our muse--often an object that captures our attention, draws our interest, and entices us to open up our sketchbooks.

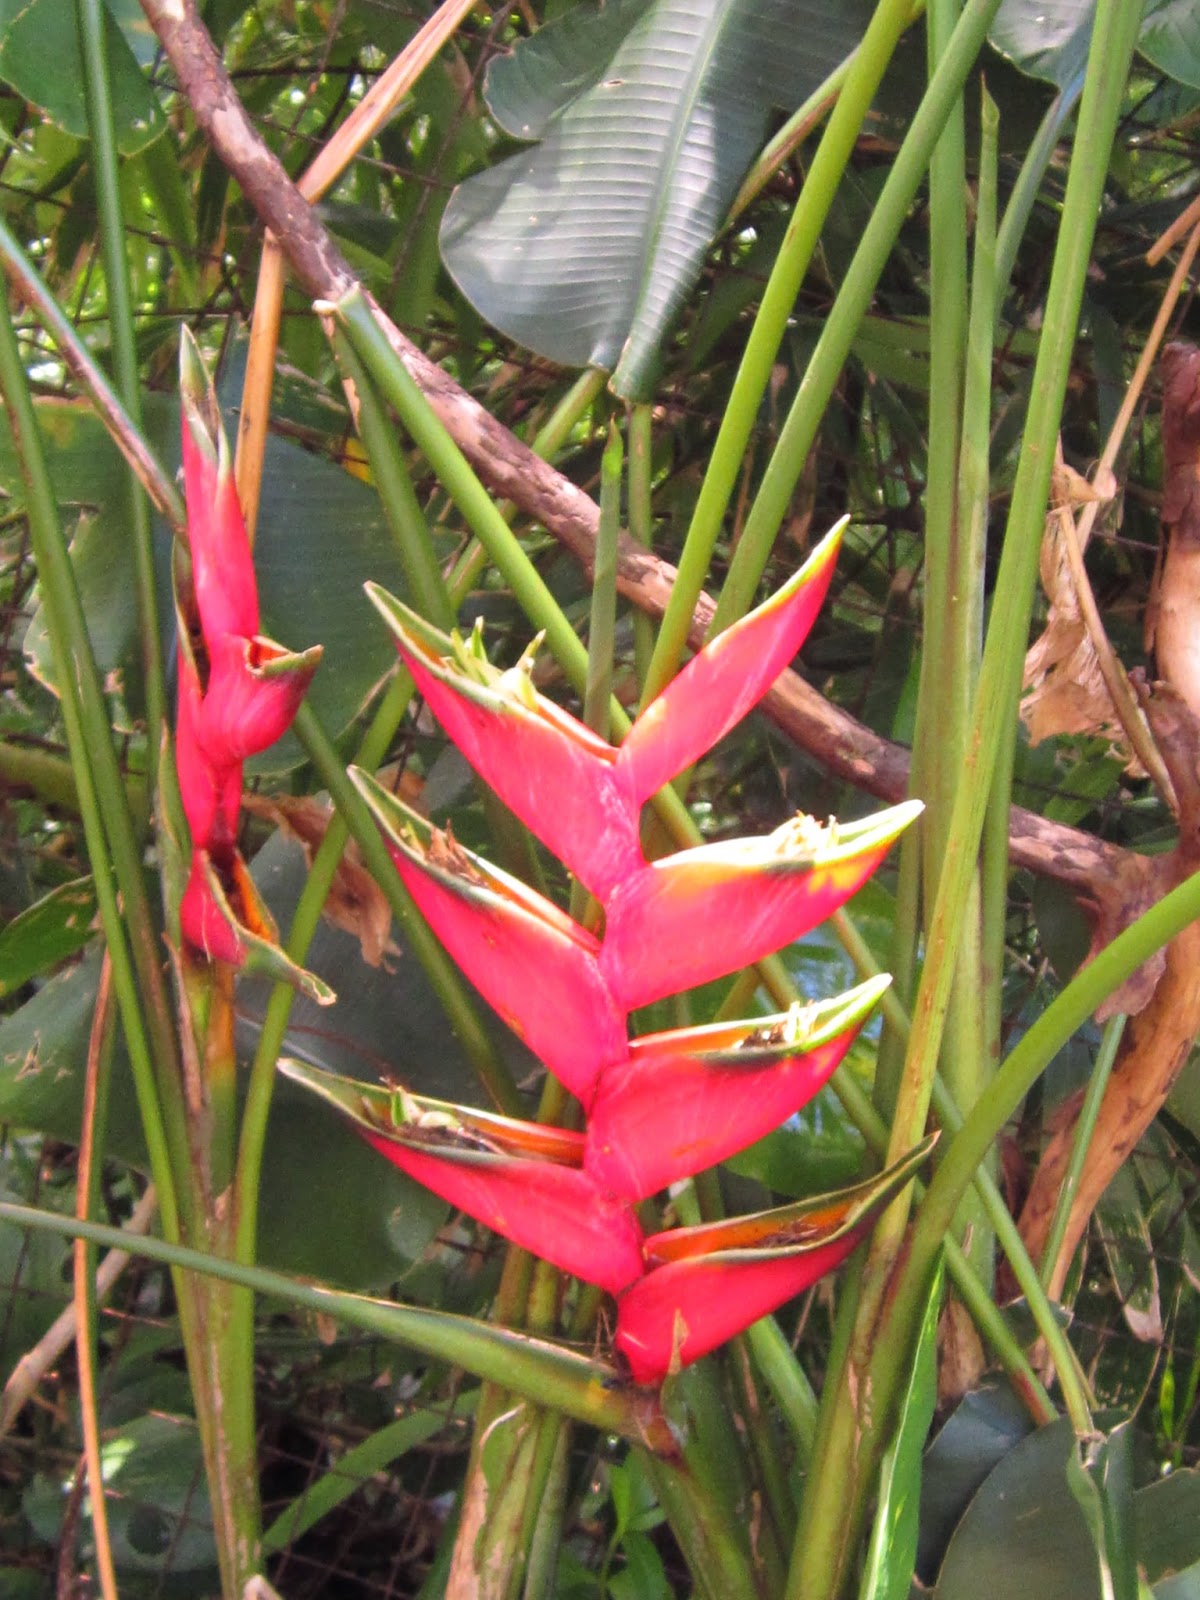
Alisa seems especially drawn to shells, though her subject matter is widely varied from shells to rocks to feathers to birds to flowers to .... well, pretty much anything that draws her attention.  I seem drawn to leaves.  Inspired by re-watching Alisa's video Finding Your Muse from the Sketchbook Delight class, my attention was drawn to some leaves I saw by a creek near my house on a walk with my husband and daughters over the weekend.
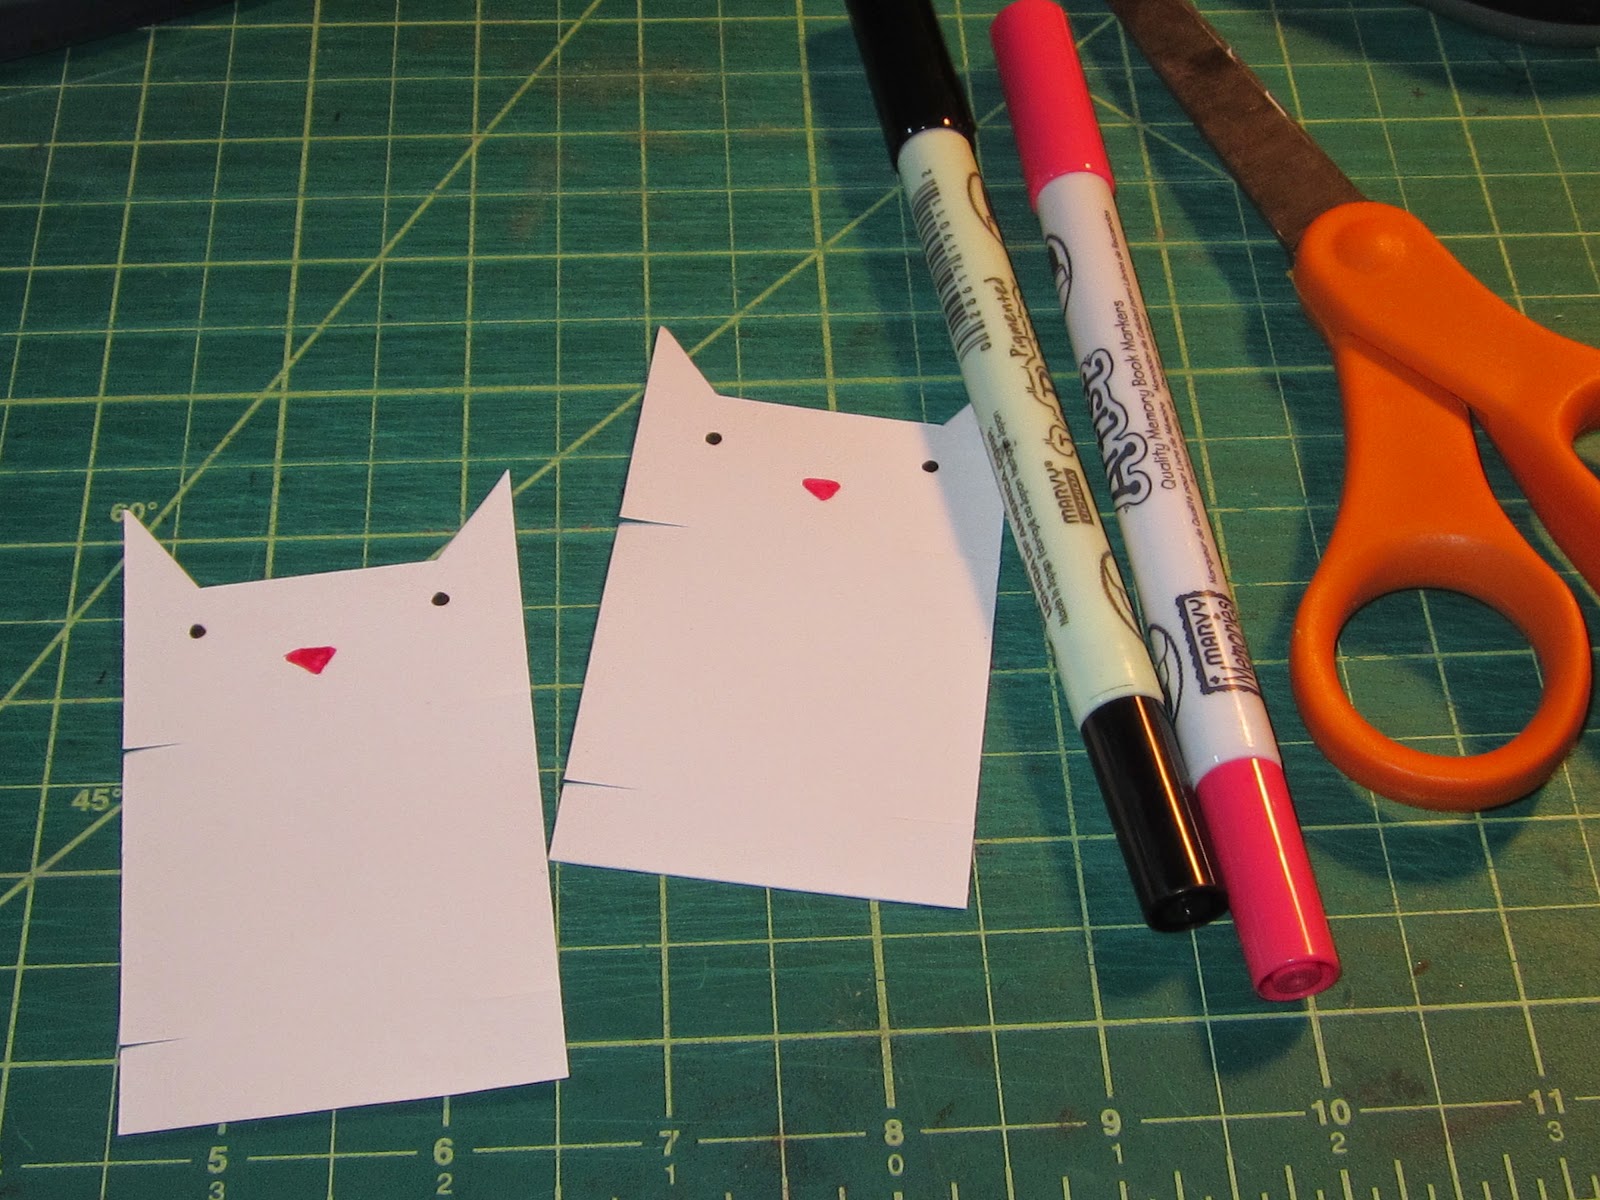
 Here is what ended up in my sketchbook, using first pencil, then black pen, then watercolors:
Alisa advises writing notes alongside your reference drawings to recall where and when you saw the object you are capturing in your sketchbook:
The sketchbook drawings become references for other work, or simply the capturing of a wonderful memory or bit of nature.
Here is another leaf from my walk by the creek:
 And the resulting page in my sketchbook:
I used the same kind of note-taking, background painting and ink framing that Alisa likes to do in her sketchbook work.
I also found myself trying to incorporate Jane LaFazio's advice from her workshop at the CREATE workshop in New Jersey last summer to leave white space in my watercoloring.  Oh, that's hard for me to do, but it looks better to me that way!
I am re-committing myself (for the umpteenth time) to my sketchbook practice, and will continue to share my results to give myself some motivation to continue.  Be sure to check out Alisa's blog full of artful and creative ideas, and click here to see inside her amazing sketchbooks.

Wednesday, August 20, 2014

A Pinteresting Crafternoon

 
The remains of the day
My mom's in town, so you know what that means:  time for a crafternoon! 
Cords and beads
This time we played around with ideas from pins on my Miscellaneous Craft Projects board on Pinterest, using wine corks for key chains and Christmas ornaments. We came away pretty happy with our projects. 
 
We used eye hooks in both ends of the cork to hold a keychain on one end and charms on jump rings on the other end.  Here is one of my mother's creations, using beads, charms, and milagros :
Here are three Christmas-themed ornaments I made, using charm sets from Jo-Ann:
My mother saw these lightweight metal frames in my stash, and had the idea of pairing them with some vintage photos she brought for me. 
Then she used a jump ring to connect a bead at the bottom, and made it into a necklace using a crocheted-bead necklace I had already made.  Pretty, isn't it?
 
I used my framed photo to create a keychain, adding a jump ring filled with seed beads at the top, and a milagro charm hanging from the bottom. 
My final two key chains continued our theme of dangling beads, charms, and Milagros:
Here is a closer look at each one:
Handling such tiny elements got a little rough on our eyes and our fingers, but overall we had a fun crafternoon.  And I was happy to use up some more of my stash.  I knew that set of jewelry pliers was going to come in handy some day!
 
For other cork key chain projects, check out these links that I have pinned to my Pinterest board:
Just what you needed:  another excuse to drink wine!

Sunday, August 10, 2014

Accordion Book House

Welcome to my Accordion Book House!
Not long ago, iHanna shared a link to a fun site called Snail Mail Magazine.  I have spent quite a lot of time browsing through the links and eye candy on this site.  (I found the link to the tutorial for the baker's twine kitties here.)  Among the posts, I found an inspiration book put together by the blogger called "Snail Mail Is..." 


Browsing through the pages of the online magazine, I saw an accordion-fold book with pages shaped like houses, and was inspired to create my own Accordion Book House (or would that be an Accordion House Book?)
I cut each page separately, with the roofs slanting every which way.  The only requirement was for the side of each house page to line up to the one next to it.  I used washi tape to connect the pages on the front side only.

The project was really just a fun excuse to play with my collage stash.  I like the vintage couple waving "hello" from the first page, and the little girl doing a handstand on the second page, as though inviting you in to play.  Next comes the kitchen, with its ad for spam.
The next page admonishes you to "handle with care"--I'm sure there is some deep psychological meaning to my inclusion of that page--and a vintage image of a woman ready to head out the door to her car, parked on the last page, which is the garage. 
Can you believe it?  There really is method to the madness of the images I choose!

On the back, I chose some pretty papers with open space that could allow this book to become a journal filled with personal writing.

A view of the back of the "house"
I've sent this Accordion Book House to a mail-art-loving friend who has been more than generous with the booklets, postcards, and postal ephemera she as shared with me.  I have plans for making more, though.  Creating it was a satisfying way to spend the afternoon!
Back view of the Accordion House Book
Visit the Snail Mail Magazine blog, and check out "Inspiration" under "Posts About" in the right hand margin for some very fun posts!

Wednesday, August 6, 2014

Sharing Baker's Twine in Style

Just a few simple supplies to make something clever!
I recently saw this link to a simple and clever organizing project on the Little White Whale blog.  Blog author Gloria describes cleaning out her craft supplies, and finding herself left with a tangled pile of embroidery floss intended for bracelet making.  She designed this cute little kitty for organizing her thread, and I thought it would be the sweetest way to share baker's twine with my arty friends.
Voila:  Twine Kitties!
I'm not sure how often you find yourself needing to organize or share thread, but here's a simple and stylish way to do it!  Now I'm thinking of other animals I could make in the same style:  a frog?  a bunny?  My twine could become a menagerie!

Friday, August 1, 2014

Hawaii Travel Journal

I've shared some of the photos from my week-long vacation in Hawaii this summer, and also gave a peek into the little kit of art supplies I took along with me for my journaling.  Today, I'll give you a look at some of the pages in my travel journal. 
This card commemorates our ELEVEN HOUR layover in the Denver airport...ouch!
My chubby airplane kind of bugs me, but oh well...
I have a new favorite way to keep a travel journal while I'm on a big vacation.  When I went to Alaska a couple summers ago, I took a stack of index cards, some of which I had "gussied up" ahead of time with tape and stickers.  I used all the different pamphlets I collected on our cruise and the port stops to create collages on the index cards, and wrote details of our daily activities on the back of postcards I purchased at our various destinations.  When I got home, I collected them into a stack, hole punched them, and connected them with a binder ring.  Voila!  It was such a simple way to collect all the ephemera and stories from our trip.  I made one of those Shutterfly photo books over a year later, and was able to flip through the cards for all kinds of fun details to include in my captions.

I planned to do the same type of journal for Hawaii, but at the last minute I decided to create a little book out of cereal-box cardboard.  I covered the cardboard in my most "Hawaiian-spirited" duct tape, used a Japanese screw punch to make holes in the spine for the binder rings, and filled it with index cards and index-card-sized papers in what I saw as beach-y, ocean-y colors.  
We finally made it to Waikiki, and eventually to Kailua!  E komo mai means "welcome".
Oh, poor Katy...If a man-o-war was going to sting anyone, it was going to be her!
This time, we stayed in one place for the whole week, and it was a bit more of a relaxing beach vacation, and less of a sight-seeing sort of vacation, so there weren't as many postcards involved.  But you can see how I used the cards to capture the stories and details of our trip. 
Our morning hike to Manoa Falls
A two-hour horseback ride at Kualoa Ranch
My husband's trip to Pearl Harbor and my shopping excursion in Kailua
The Chief's Luau at Sea Life Park...a spectacular view and a great fire dance
At the back, I made some collages of words and images from some free publications I picked up in shops in Kailua. 

Now I have a bright, fun, detailed source of summer Hawaiian memories!  If you would like to read through my Top 10 Hawaiian Memories, with photos from the trip, check out this earlier post.