I've always been fascinated by book-making. I've bought several instructional books, and have purchased necessary tools like awls and waxed linen and special glue. But I always get spooked by the complexity of the process, and have yet to tackle book-making with hand-stitched bindings.
But book-making from food packaging with a duct tape binding? When I first heard about it, that sounded like something I could handle!
One of the currently-open swaps on Karen's
Mail Me Some Art blog is a
duct tape journal swap. She provides a link to
a video by Diana Trout, demonstrating her method for creating duct tape notebooks. I encourage you to go watch it; in less than six minutes you will discover a fun new project that I know you will want to try immediately!
I'll leave Diana to show you the process, but I'll talk you through the basics of what I did.
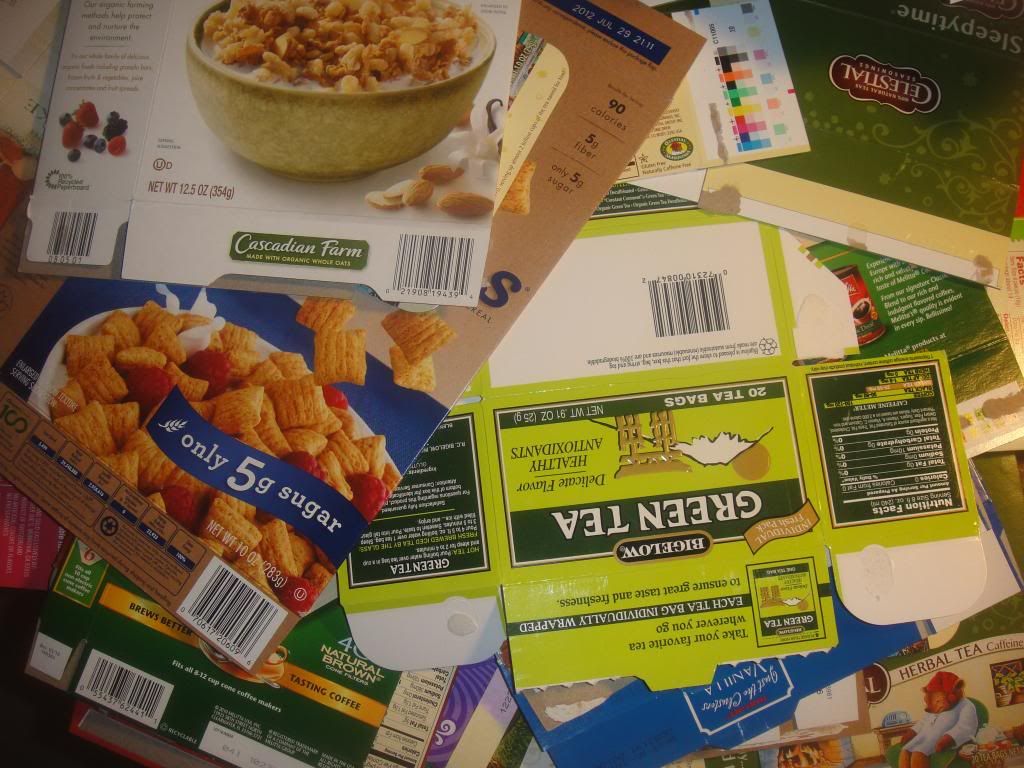
First, I had to access my stash of old food packaging. C'mon! Don't you save boxes from your cereal, tea, coffee filters, and dessert bars? Surely, it's not just me! I kept a lot of these, thinking that I would make books with them using my Cinch binding machine. Their casual, ephemeral nature suits the duct tape binding project even better!
I created my front and back book covers by cutting the front and back of the food packaging to create two rectangles of cardboard. I then laid these down on a strip of duct tape, which I wrapped around them to create a spine. (This makes perfect sense from the six-minute video!)
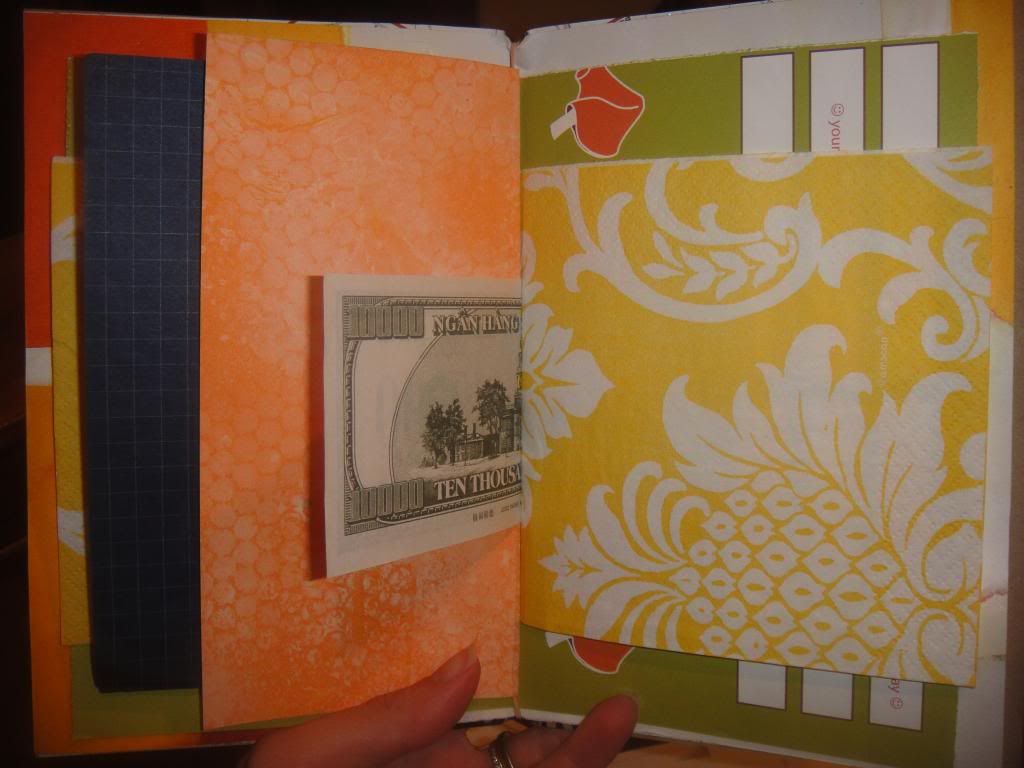
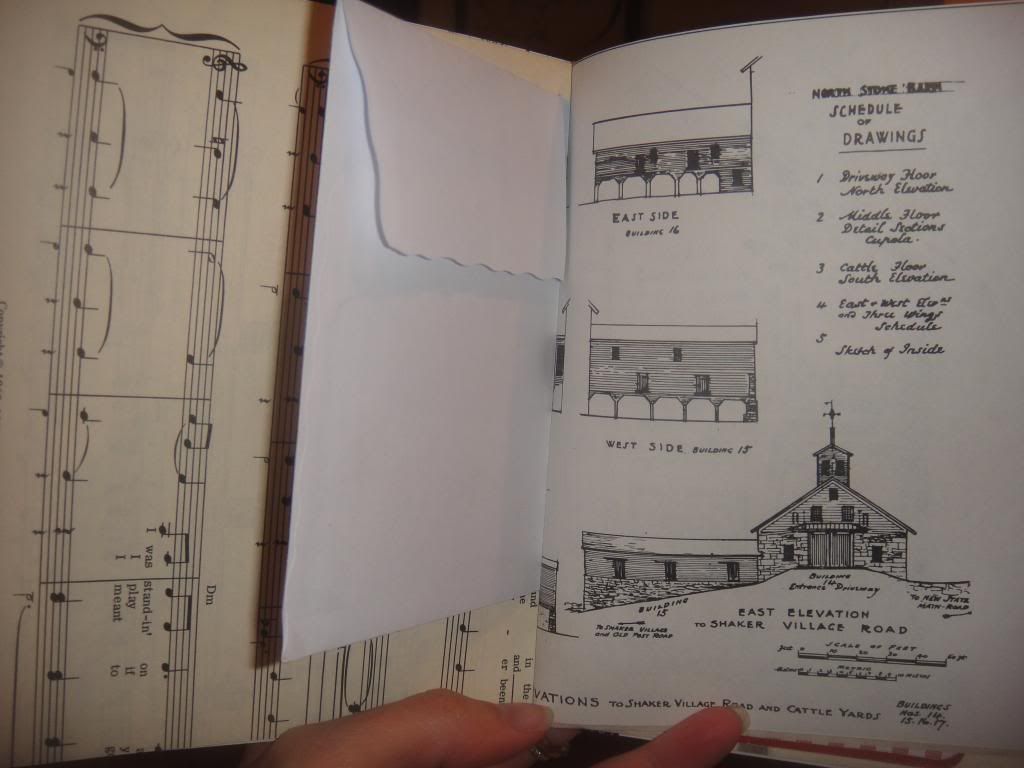
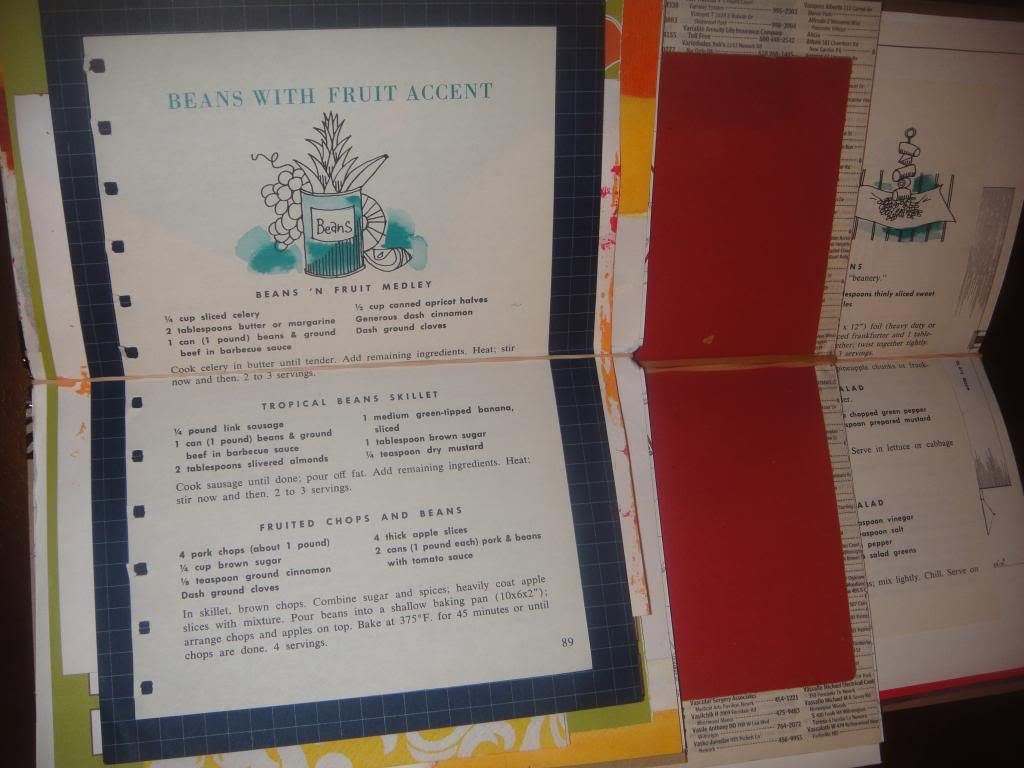
Then--the fun part--I selected the papers I wanted to put into my books. I used quite a variety--road maps, cookbook pages, magazine photos, foreign text pages, phone book pages, graph paper, children's book illustrations, envelopes (cut the flap in the middle, like I do for my
airmail envelope notebooks, and you end up with two little pockets in your journal!), art book illustrations, barn maps (I have a whole book of them!), napkins, and more.
For the first book I created, I cut most of the papers to the same size as the covers. For the second two books, I just put in papers no matter what their sizes, so the books have lots of different layers to flip through.
Every selected paper gets folded in half and tucked between the front and back covers. They are then secured by wrapping a rubber band around the middle.
Simple as that, you have a duct tape notebook!
I first sat down to this project Saturday night at 10:30 pm, and by 11 o'clock I had created covers for three books and finished one whole book altogether. On Sunday morning, I had ten minutes before church, so I sat down and finished the second book. The third book came together later that afternoon. It's a super-quickie project, people--just like I like 'em!
Go right now and check out
Diana's video, and let me know when you give one of these (or ten!) a try! And if you finish one before October 27, consider participating in
Karen's swap!
*************************


13 comments:
Loving these books, Andria!! Paper fun.
Andria -- I just made some too! And I sent one to Karen to trade. Maybe I'll get yours (if I'm lucky). Very nice. And I see you already know about Karen's two blogs....uh oh...
This sounds like something I could actually do! Plus it's a great way
to use some larger ephemera that I've been reluctant to cut into for collage. Love it! Thanks for the idea.
fun, fun, fun! Thanks for sharing this, Andria!
I've just emailed you :)
I saw these on Karen's blog and loved them. Yours are great! Now I need to get busy and make one, too.
I my goodness, Andria!!!
I LOVE IT! This is right up my alley!! :)
thank you for suggesting to me, to come visit you today.
I think I will give these a try!
~xx
those are fabulous! can't wait to see it in person. I'm trying to figure out the best way to show them off on the MMSA blog. maybe little video flip-throughs? because I've received 3 so far and the are all so cool, I want everyone to see what's inside them!
Hi Andria....those little books are wonderful. I learned that technique from Dawn Sokol. You can also use masking tape, wide or narrow to put them together. I will check out Diana's video too...thanks!
Mary
I saw this on Karen's site as well and was SO excited to get busy. I could have written your post myself - I too have books and supplies for bookbinding but have yet to try anything more complicated than an accordion fold. But this one? This was easy, fun, rewarding and I love the way it turned out. I'm going to have a hard time letting it go....but it's in the mail to Karen soon. Sounds like there will be lots of journals shared and swapped. Hooray!
Sounds like a great idea, the duct tape journal! Just what I need is another idea! Really! There are times when I need a project to do and I don't have any ideas! Thanks for sharing!!
i will definitely have to try making one of these! i saw some journals at a craft fair once made of old album covers - that might be fun to use for these books.
You have such CUTE and inspiring ideas!!!!!
Leslie
This is so cool! I've made one before, but I admit, I didn't put such great papers in it, or make it as pretty!
Post a Comment