Thursday, September 8, 2011

Dabbling in Mail Art

I've had mail art on my mind.

For the past several months, I've sent plenty of handmade postcards through the mail, but I have not revisited the kind of mail art pictured in one of my favorite books, Good Mail Day, by Jennie Hinchcliff and Carolee Gilligan Wheeler. 

But then Christel sent me those delightful handmade envelopes in a recent swap, and Tammy at Daisy Yellow posted some great mail art links in a recent post. 

I was reminded of my first mail art effort, in 2009.  A friend of mine organized a mother-daughter camping trip in the Delaware Water Gap.  I sent a thank-you note afterward in an envelope I made from a brochure about the area, decorated with a skeleton leaf, words cut from magazines (such as "mother," "child," "getaway"), and labels and stickers.  It was my very first work of mail art.

That gave me the idea of making several envelopes from brochures I picked up when I went on vacation.  My family visited Monticello that same year, so I created a series of "souvenir envelopes," made from tourist brochures.  I cut and pasted pictures and words from various brochures onto the envelopes, and thought they would make a nice souvenirs for my girls from their first visit to an important American historical site:
A closer look:
For the future, I thought it might be fun to tuck a postcard inside of each handmade envelope I made from the places we visit, with a little letter to the girls about what they saw.  As they get older, they could write the postcard themselves, with their own chosen memories.  Wouldn't that make a nice collection for them as they are growing up? 
It's amazing how many different envelopes you can make from just four or five brochures!
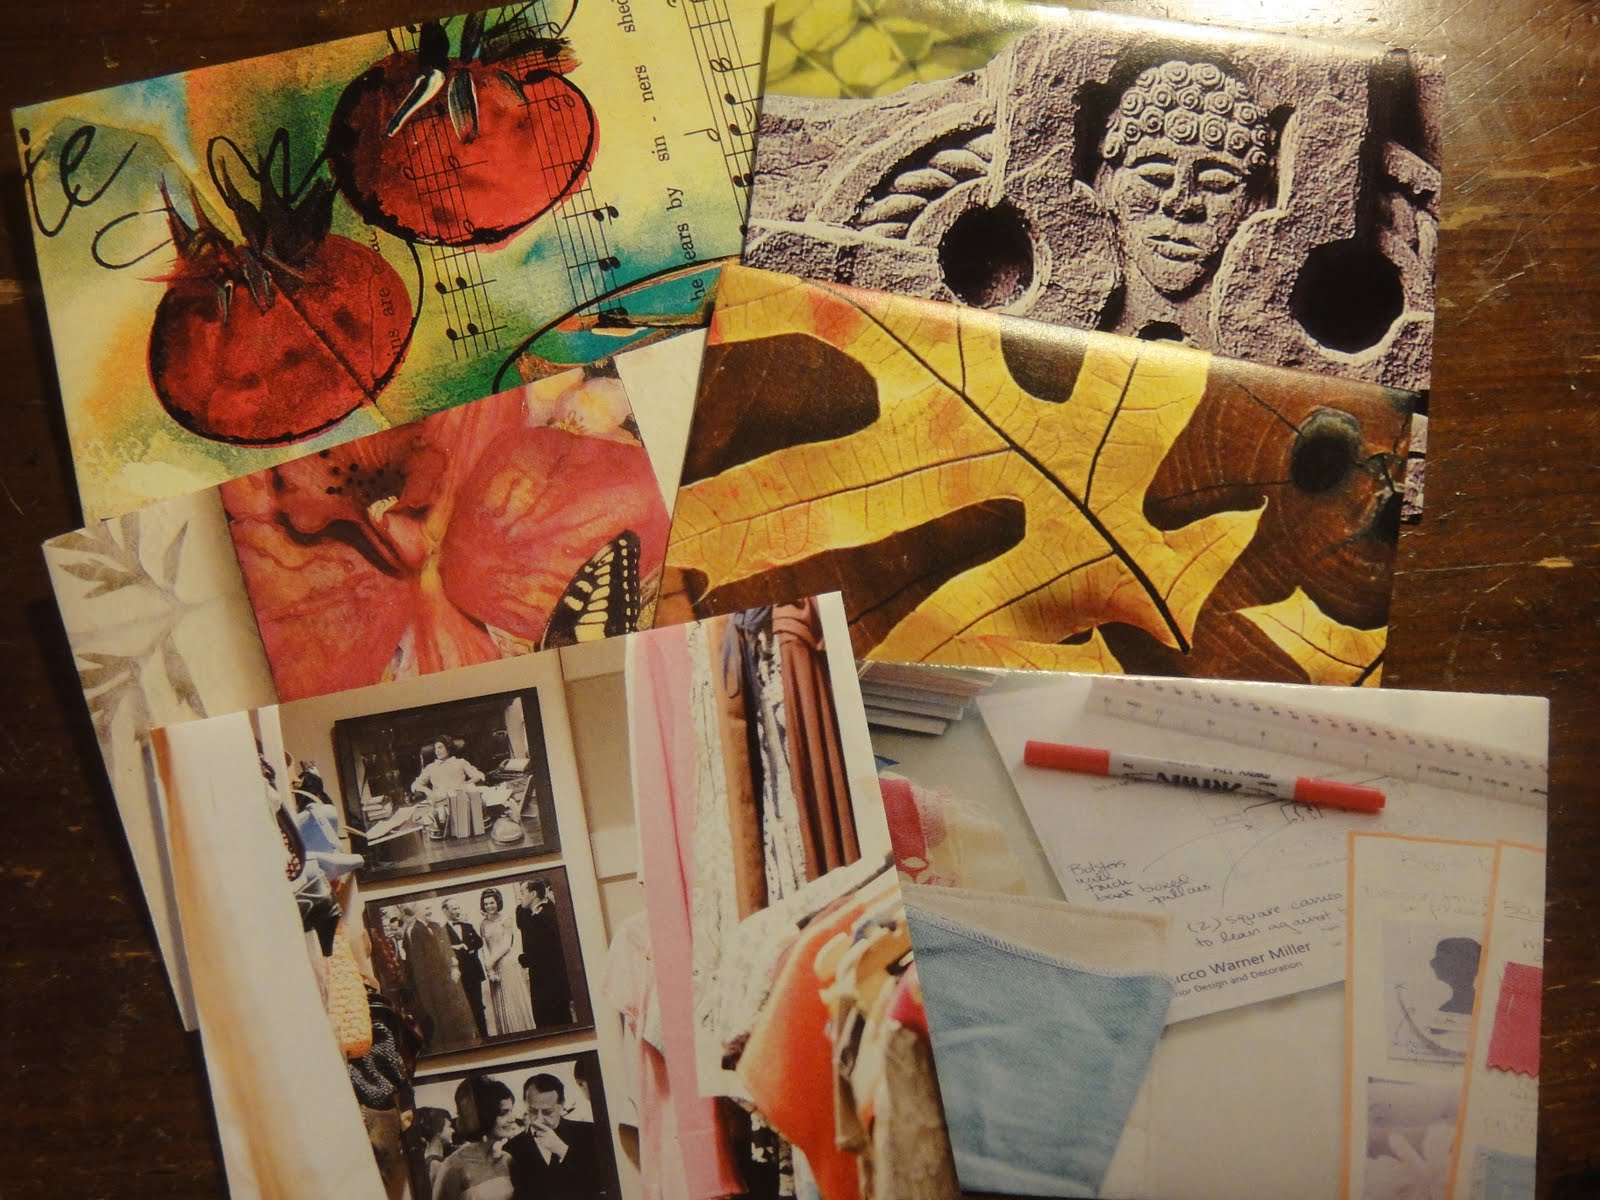
Looking back at this project from 2009 (and finishing a couple of the envelopes that I left incomplete) bit me with the envelope-making bug, so I've been making some more from magazine pages I've saved over time:
It's such a satisfying pasttime, because the envelopes are quick to make, and look so fun and colorful when they are finished.  Three of the envelopes in the back were made with old pages from Somerset Studio magazine.  The leaves are from the cover of a catalog that came in the mail.  The envelope on the front left is a picture of a closet, and the one on the front right is someone's desk; who knew they would make such fun-looking envelopes?

Then I started decorating small manila envelopes with collage images:
I love these; they really show my preferred "style," with text, musical scores, vintage images of women, and ephemera from an old BINGO game.
Mail art is the kind of thing that I will always come back to again and again.  It is fun to create, fun to send, and fun to incorporate into other artwork, such as journals. 

I am always looking for new examples of creative mail art, so please leave any fun links you might know of in the Comments section, so we can all explore new sources of mail art inspiration!

Monday, September 5, 2011

Craft Stash Swap!

The goal of Crafty Moira's Craft Cleanse was to clean out and organize our art and crafting supplies.  But what could we do with all the items we didn't want anymore?  One of her solutions was a craft stash swap. 

Participants collected any materials and supplies we didn't want anymore--those things we've been holding onto because we feel guilty about throwing them away, those things we've been holding onto because we think maybe someday we'll figure out a use for them, those things that we just don't like or use anymore but are still perfectly good.

My swap partner, Janet in California, and I corresponded a bit before sending off our packages.  We decided to create art journal pages to swap along with our discarded supplies.  And we both ended up cramming as much as possible into the USPS medium-size flat rate box. 

My box hasn't reached her yet, though I expect it will be there tomorrow.  Hers got to me on Saturday, and I wanted to share what I found inside:
She included papers, playing cards, packing tape, fibers, rub-ons, photographs, and glitter glue. 

She also included a few pieces of amazing original art.  In addition to a hand-stitched book of papers, she created two original journal pages created just for me.  Look at the amazing colors and layers on this one:
{"All it takes is imagination and a litte courage."}

And look at the haunting and lovely image on this larger page:
{"Count Your Blessings."}

Right away, I added some of the papers she sent to me to decorate a Writer's Notebook that I'll be using as part of a teacher workshop I'm presenting this Saturday:
{This is just a regular old black and white composition book!}

I've never participated in a swap quite like this one, where we shared our "trash" in hopes that it would be someone else's "treasure."  It was a relief to get rid of some things that I just know I will never use, and it was great fun to receive a random collection of new supplies.  I would definitely do something like this again!

Thursday, September 1, 2011

Summer Fun Update: Arts and Crafts!

Last Friday, I shared some of the excursions the girls and I have enjoyed these past few months as a result of my "summer fun pre-planning" efforts.  In my journal, I also made a list of some arts and crafts activities that I wanted to be sure to try with the girls, inspired by the lists I found on Tammy's blog, Daisy Yellow.
This is obviously a subject close to my heart! 

Besides the usual stand-by activities of drawing, coloring, and Play-Doh, the girls also frequently asked to "play beads."
Bayla spent most of her time making up dialogues between her animal-shaped beads, and rarely strung more than two or three beads on a lace. 

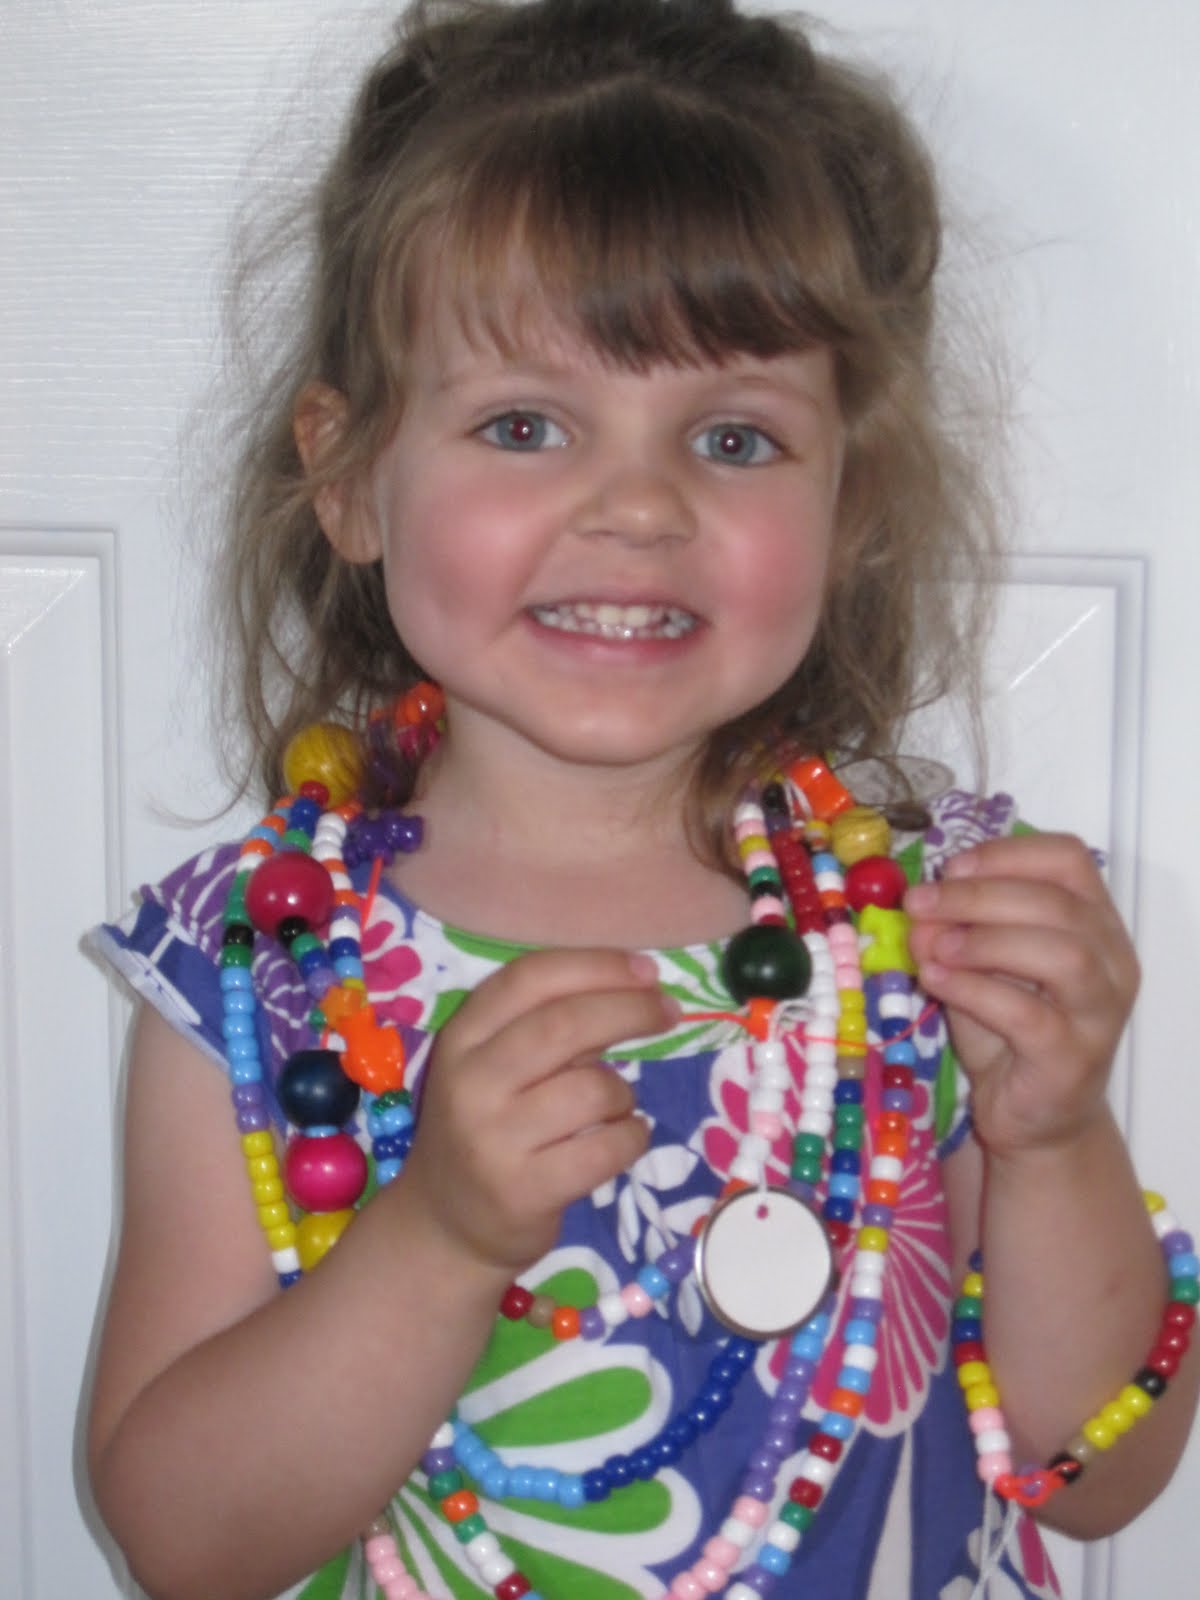
Katy, on the other hand, took her job of making necklaces and bracelets very seriously, and ended up making gifts for all of the grandparents, her Daddy for his birthday, our church's Children's Director when she left for seminary, and our summer babysitter when she returned to college.
(Here is Katy displaying several of her gift necklaces around her neck!)

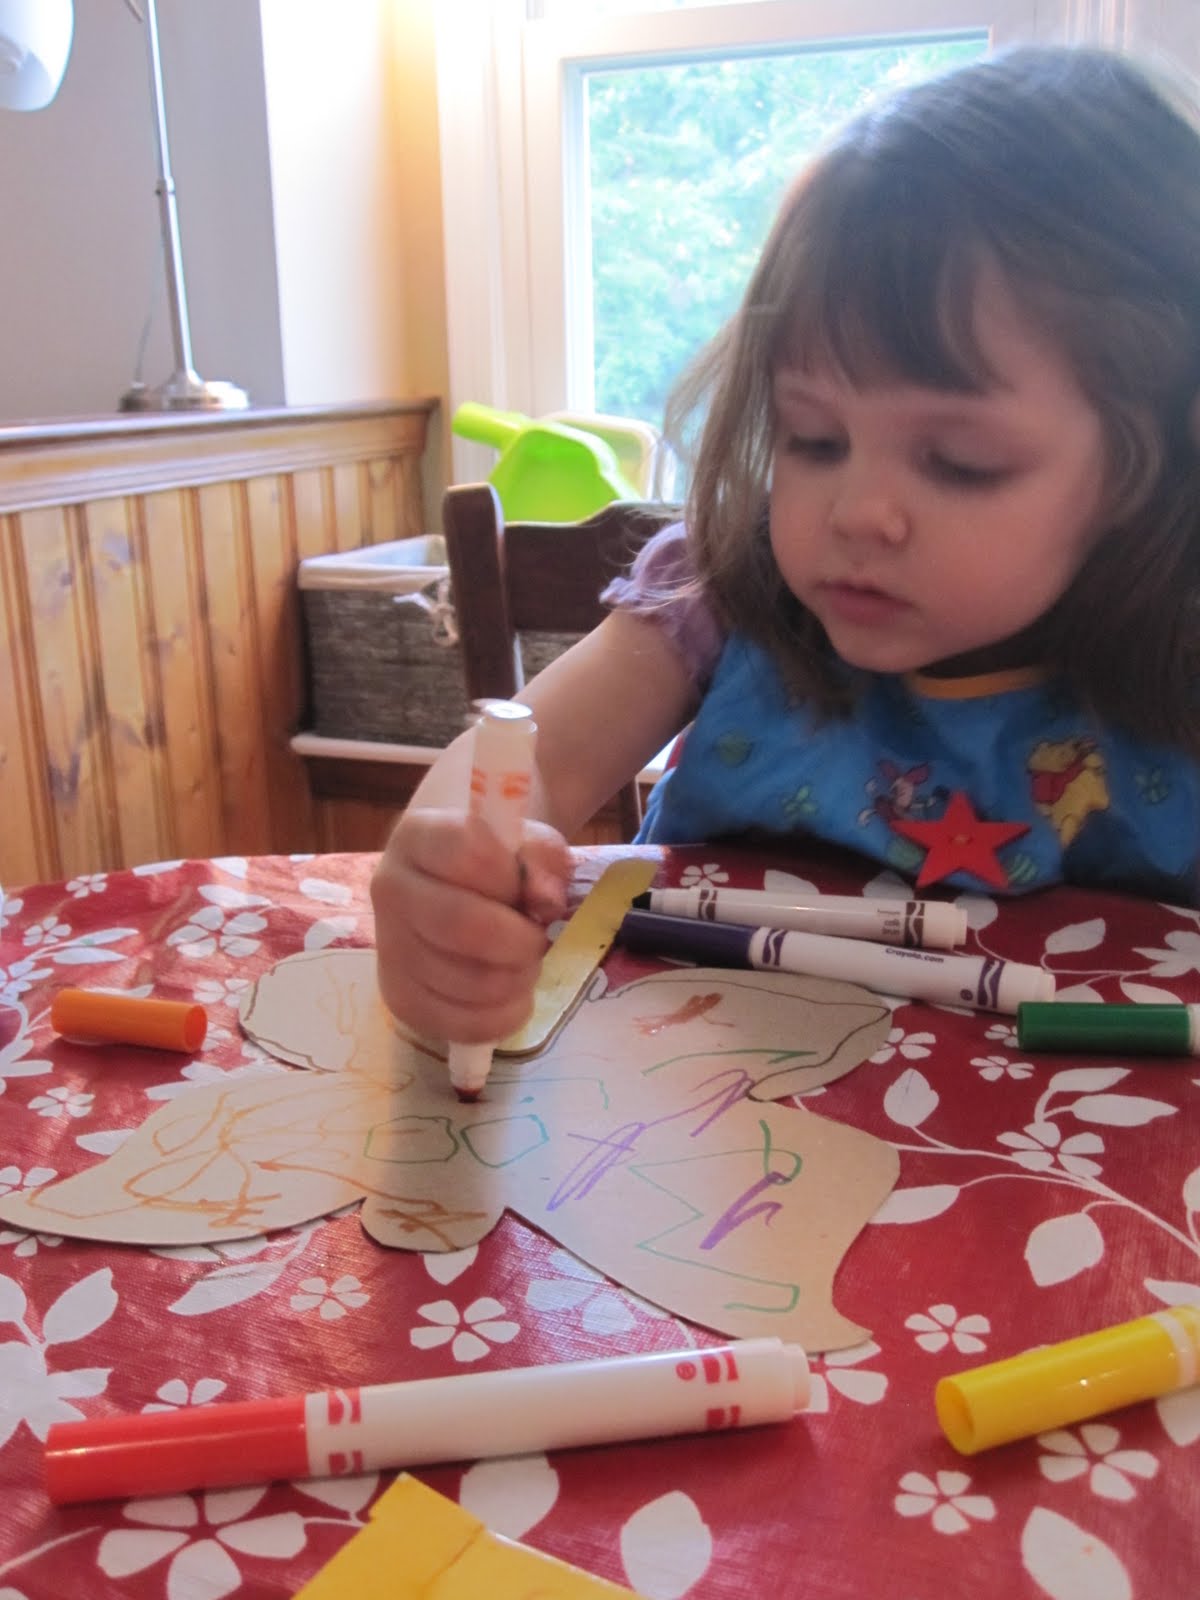
I found a paddle fan crafting idea on Maya Made, and thought it would be fun early in the summer as the temperatures were first turning warm. 
{Bayla made a fan, but was ultimately much more interested
in lining up all the colorful markers!}

Because I was still a little nervous about letting the girls loose with paints, we used markers to decorate our fans.  (Note to self:  Marker is probably MUCH more difficult to wash off of your children than paint!)
The girls lost interest in their fans by the next day, but they had fun while they made them!

A craft close to my heart is rubber stamping, but it's another one that covers the girls head-to-toe in colors that don't come off for a couple of days.
{See that face?  That's a happy, messy kid!}

Now, here's a tidy craft:  Crayola has these Color Wonder markers that only make color on special Color Wonder paper.  Obviously, it's a racket because you have to pay an arm-and-a-leg for the special paper, but it's priceless for those moments when you need the peace of mind that craft time won't end with you cleaning for an hour!
And, because craft time with toddlers usually ends up being all about messing with the supplies, this one has the added benefit of being able to play with all those marker lids:
I have been intrigued by tales of coffee filter suncatchers since the first time I read about them, so they were on my list of summertime "must dos."
The reality was less-than-spectacular.  I used food coloring in water, and virtually no color transferred to the coffee filters.  But the girls loved dunking the paper, and Katy especially enjoyed mixing the colored water afterward, and playing "chemist" with it in different cups and bottles.

One of the crafts I thought was a pretty great success was the tissue paper suncatchers.  (The Artful Parent blog where I read about this has apparently been deleted from the Internet!)  I just taped a piece of clear contact paper to the table, sticky side up, and gave the girls a big stack of cut-up tissue paper in different colors to put on the paper. 
When you turn the contact paper over, there is a very pretty kid-version of a stained glass window!  The girls made several of these that are hanging on the fridge.
I already wrote a blog post about experiences with painting for the first time.  If you want to relive the excitement (and my moderate anxiety over the mess), you can find it here in my Creative Neuroses post.

In looking at my photos of our activities this summer, I discovered enough pictures of cooking activities to warrant a whole post on that topic alone.  So you can look forward to a "Summer Fun Update:  Cooking!" coming soon!