Just before my summer vacation, I happened upon a couple of very timely video tutorials, in which Jenny created what she calls an "all-in-one travel and journal kit" out of a day planner. She finds all kinds of creative ways to include the supplies she might possibly need for art journaling on the road while traveling. I was immediately smitten by the plastic wallets for carrying art supplies that she created. I decided to create two for myself to carry supplies on our summer cruise.
While I followed her directions and I strongly recommend that you watch her original video, I made a lot of adaptations that I want to share with you.
Jenny made her plastic wallets out of "office folders," and I wasn't sure what kind of plastic sheet that referred to. I decided to try using what we call "page protectors," and they worked great with a few adjustments to the process. The first thing I did was use a zig-zag stitch on my sewing machine to close up the top of the page protector.
I did not do any measuring, as Jenny did, because I was not trying to fit my supply wallets into any sort of a book. They could be whatever size they ended up, so that saved me any measuring or plastic-cutting. Once she measured and cut, she used tape and glue to secure the sides. I decided to use my sewing machine to create a zig-zag stitch to secure the sides instead.
When I did the stitching, I left about an inch or an inch-and-a-half at the top to create a flap. In Jenny's video, she is able to use a bone folder to create a nice crease in her plastic. The page protector is much floppier plastic, so I just held the sides in place as I stitched with the machine, and you can see me holding the wallet with the flap flipped down, below.
In Jenny's version, she created a handmade enclosure with painted cardboard and eyelets. I wanted a quicker and easier alternative, so I thought I would try Velcro. I had some in my supplies, and tried to glue it onto the flap, but the Velcro would not adhere at all. So, I made a quick trip to the craft store to buy self-sticking Velcro, and it worked perfectly. I put the scratchier side of the Velcro on the body of the wallet, and the softer side of the Velcro on the flap.
As part of Jenny's all-in-one travel and journal kit, she created washi tape folders, which are basically a variation of the wallet; she simply doesn't tape up the sides or add the enclosure. Since I wasn't taking any sort of a book with me and I wanted everything all together in one, I just added strips of decorative tape to the outside of the plastic wallets...the perfect storage solution! (And it made the plastic wallets look much prettier!) I could take off what I needed and put back any little scrap that might serve a purpose later.
 |
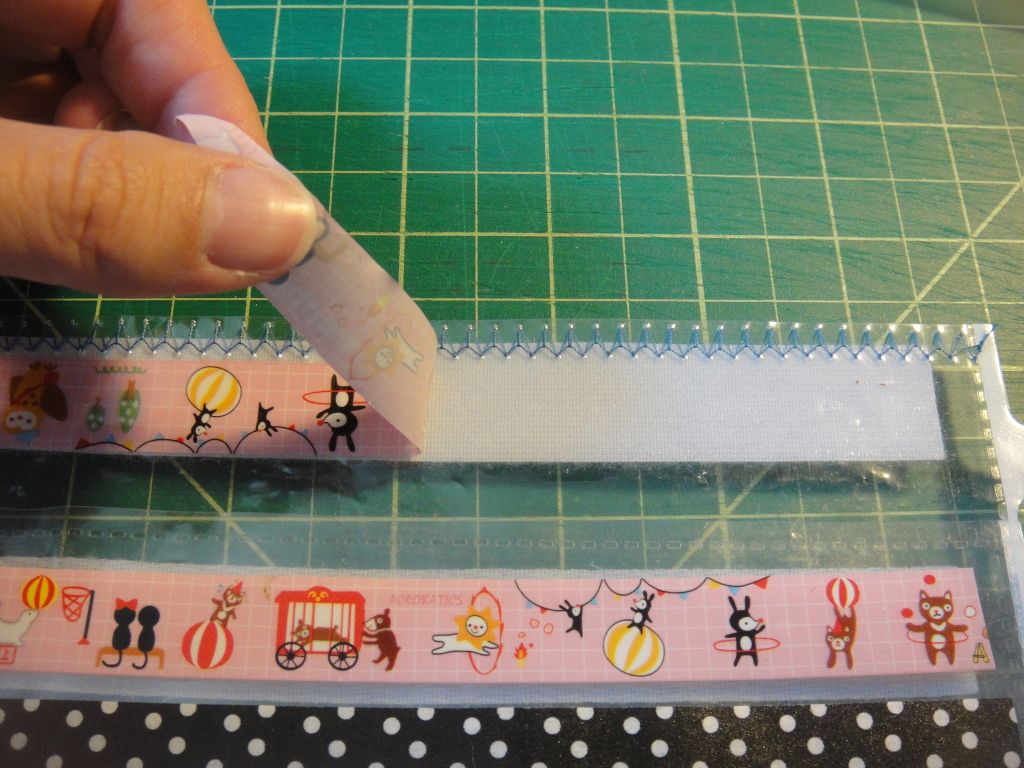
| Here, I am using a piece of kawaii tape to cover up the back of the Velcro, which shows through the plastic. |
 |
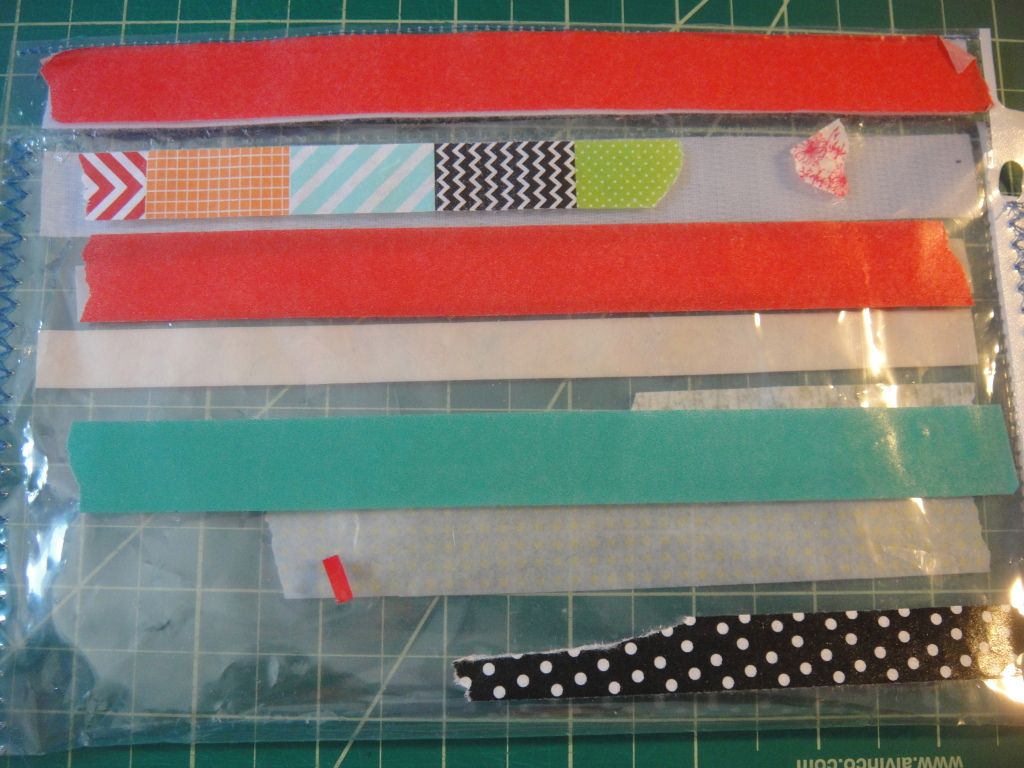
| Here are the remains of my washi tape from one of the envelopes after my trip. The tape looks a lot prettier before you start tearing it off to use it in your journaling! |
Inside of one plastic wallet, I included index cards, decorative papers, and stickers. I also included a little plastic bag containing some pre-punched Dymo label phrases, such as "Alaska," "Disney," "And we're off!" and "Open seas"--things I thought I might add to my index card art journaling.
In the other plastic wallet, I carried pens, pencils, a glue stick and a small pair of scissors. (I moved the scissors to my toiletry bag for the flight, since I was checking my suitcase, but carrying my art supplies on board in a backpack. I read a sign at the airport that said I could have scissors with less than four-inch blades, but I didn't know that ahead of time, and even now I think I'd rather be safe than lose my scissors in the security line!)
 |
| I actually fit a lot more than this in the second wallet; I'm just showing this selection as an illustration! |
Many thanks to Jenny of Jennibellie Studio for the original idea! I had a great time determining the changes and adjustments that made the project work out well for me.


8 comments:
Jennibellie may very wel be one of the most inspiring people in the blogosphere, at least to me. I love how she shares all she knows and shows it through youtube. I also love what you did with her ideas!
Well that is extremely cute!!
A wonderful idea! *-*
I just made one of the pockets to hold all the paper scraps I'm not quite ready to throw away.Lots easier to see the selection and I can keep it out where I'll remember to use them. Thanks for the idea!
Yes, I'm a follower at Jenniebellie's blog, so cool!
Qué bonita y útil resultó tu wallet (creo que la palabra en español podría ser "cartuchera", al menos en Argentina)
Besos Andria!
Jennibellie is fantastic! I think it's great that you took one of her ideas and made it your own.
Ooooh, thanks for a new blog to visit...I always love the ones you recommend and I love what you did here.....and the thought of journaling your vacation on index cards is AWESOME!!!!!
WOW. I can't keep up, Andria!
Post a Comment